

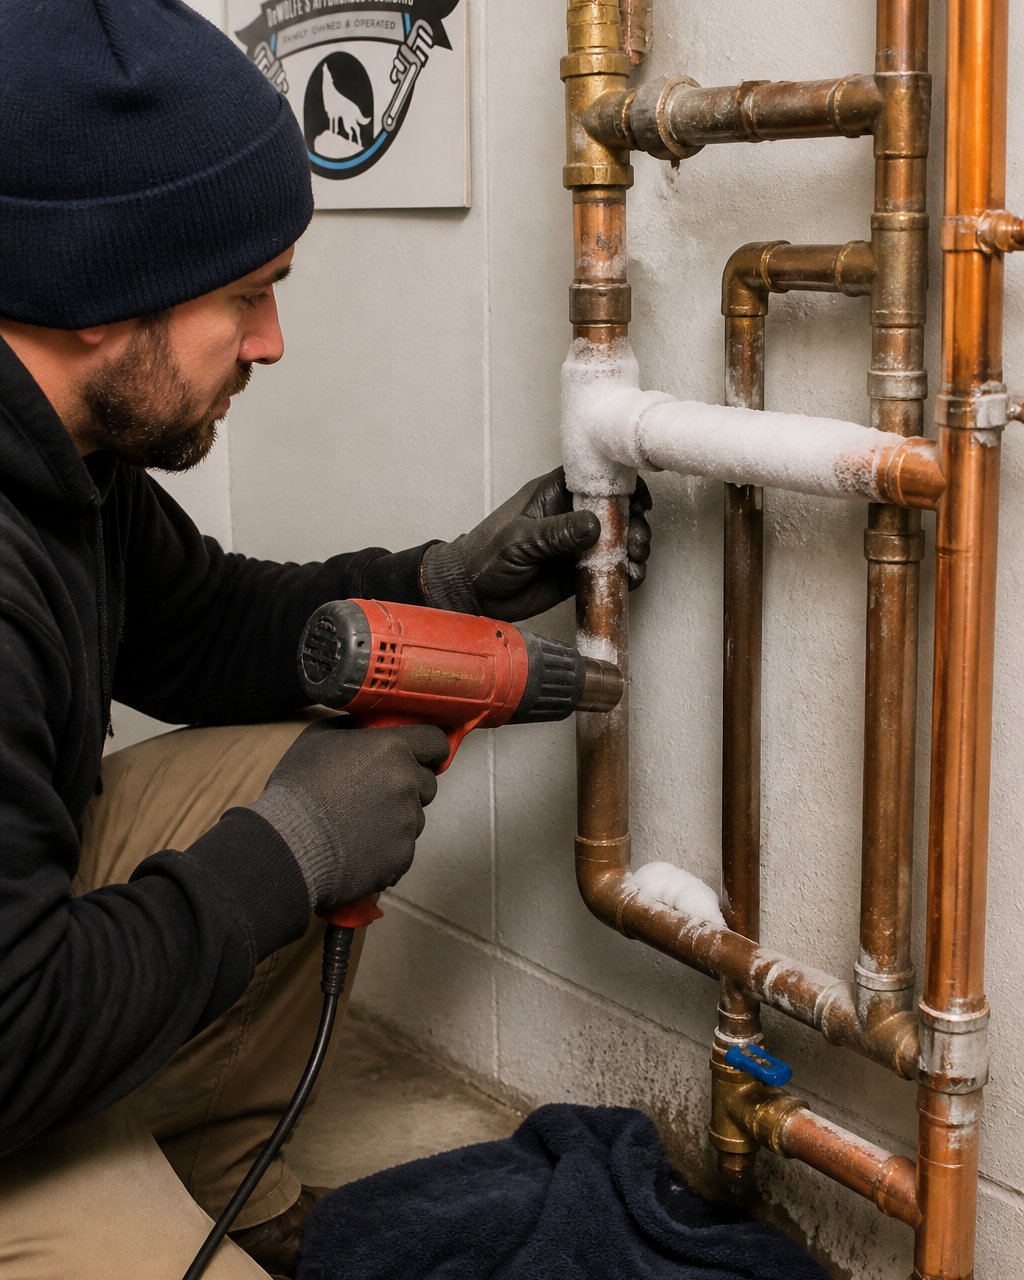
How to Safely Thaw Frozen Pipes Without Bursting
Table of Contents
- How to Identify a Frozen Pipe
- Signs of a Burst Pipe vs. a Frozen Pipe
- Where Frozen Pipes Commonly Occur and How to Locate Them
- Step-by-Step Guide to Thawing Frozen Pipes Safely
- How Long It Takes Frozen Pipes to Thaw
- What to Avoid When Thawing Frozen Pipes
- How to Prevent Pipes from Freezing
- What to Do After Thawing and When to Call a Professional
- Frequently Asked Questions
Last Updated: October 17, 2026
How to Identify a Frozen Pipe
When you thaw frozen pipes, you’re addressing a situation where water inside your plumbing has frozen solid, blocking flow and building pressure. You’ll notice immediately: no water comes out when you turn on a faucet.
The most common sign is reduced pressure or complete loss of water to one area. If some faucets flow and others don’t, you likely have a frozen pipe in between.
Look for visible frost or ice on exposed pipes in crawl spaces, basements, or attics. The frozen section usually feels noticeably colder than nearby pipes.
Check pipes in the coldest parts of your home first: exterior walls, unheated crawl spaces, attics, and garages. These areas freeze before interior pipes do.
Signs of a Burst Pipe vs. a Frozen Pipe
This distinction matters: a frozen pipe blocks water flow, while a burst pipe leaks water everywhere and demands immediate action.
Frozen pipe signs:
- No water or very low water pressure
- No visible leaks or water damage
- Frost visible on the pipe exterior
- Problem started during cold weather
- Faucet is completely dry when turned on
Burst pipe signs:
- Water pooling on floors or ceilings
- Wet spots on walls or foundation
- Visible cracks or holes in the pipe
- Water spraying or dripping actively
- Musty smell or visible mold growth starting
- Water damage to drywall, insulation, or flooring
If you see active leaks, turn off your main shutoff valve immediately and call a professional to prevent structural damage and mold.
If you only see reduced water pressure with no leaks, you’re dealing with a frozen pipe that you can thaw yourself. The techniques below work for frozen pipes only, not burst ones.
Where Frozen Pipes Commonly Occur and How to Locate Them
Frozen pipes cluster where cold air reaches the pipe and heat cannot.
Most common locations:
- Exterior walls on the north or west side of your home
- Pipes running through unheated crawl spaces
- Basement pipes near foundation cracks or vents
- Attic pipes with poor insulation
- Garage pipes, especially near doors
- Underground water supply lines in areas with shallow trenches
- Kitchen and bathroom pipes in exterior walls
Exposed and Exterior Pipes
Exposed pipes are easiest to locate and thaw. Walk through your home and look at visible pipes; exterior wall pipes freeze first because outside air reaches them directly.
Check under sinks on exterior walls, where pipes sit closest to the cold. Feel the pipe: a frozen section feels hard and ice-cold compared to normal pipes.
In basements or crawl spaces, trace the main supply line from where it enters your home toward the frozen area; the pipe gets progressively colder as you approach the blockage.
Look for frost, condensation, or visible ice. Even a thin layer of frost signals freezing is happening.
Hidden and Inaccessible Pipes
Hidden pipes inside walls are harder to find, so work backwards from the affected faucet.
Trace the water line from the faucet with no flow into the wall or floor. If the faucet is on an exterior wall, the blockage is likely near the wall itself.
For pipes under a slab foundation, the frozen section sits directly under your floor and needs specialized equipment to thaw safely. Call a professional immediately, Slab Leak Location and Repair services can locate and address these difficult blockages.
If pipes run through crawl spaces, crawl under carefully with a flashlight and feel the pipes as you trace the water line.
Never crawl into a flooded or wet crawl space. If water is pooling, you may have a burst pipe, not a frozen one. Turn off your main shutoff valve and call a professional.
Step-by-Step Guide to Thawing Frozen Pipes Safely
Thawing frozen pipes takes patience; rushing or using extreme heat can burst the pipe. The goal is gradual, even warmth applied slowly.
Step 1: Open the Affected Faucet
Turn on the faucet with no water flow and leave it open during the entire thawing process. This serves two purposes.
First, you’ll see water drip, then stream out as the ice melts. Second, it relieves pressure buildup: as ice melts, pressure rises, and an open faucet lets it escape instead of bursting the pipe downstream.
Leave the faucet on the entire time you apply heat. Do not turn it off until you have steady water flow.
Step 2: Apply Heat Gradually and Evenly
Start with gentle, indirect heat. Never use open flames, blowtorches, or extreme temperatures, which can damage the pipe, ignite nearby materials, or burst it from temperature shock.
Slowly warm the frozen section until the ice melts, like thawing frozen food.
Apply heat to the section closest to the open faucet first so melted water flows out instead of refreezing, then work back toward the main supply.
Keep the heat source moving. Never hold it in one spot for more than a few seconds. Constant movement prevents overheating and ensures even warming.
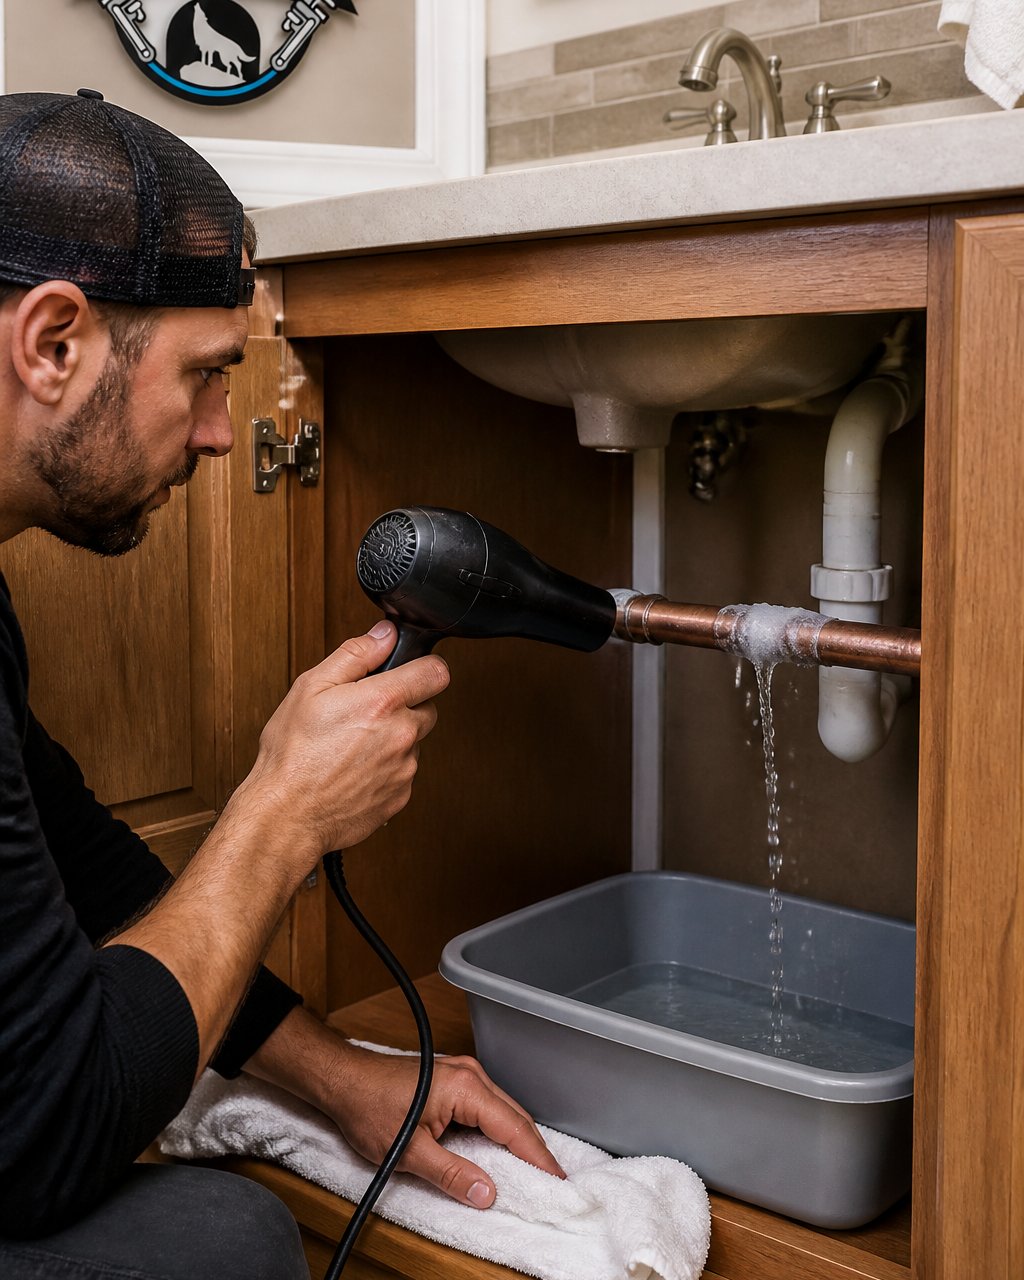
Step 3: Use a Hair Dryer to Thaw Frozen Pipes
A hair dryer is one of the safest, most effective tools for thawing. Set it to medium heat.
Hold the dryer 6-12 inches away and move it back and forth along the frozen section, a few seconds per spot.
Warm air thaws ice gradually without the risks of direct flame. This works well for exposed pipes you can reach; pipes in walls or under floors may not be accessible to a hair dryer.
Keep the dryer moving. Staying in one spot too long can overheat the pipe and cause damage.
Step 4: Try Heating Pads or Warm Towels
Heating pads designed for pain relief work well for accessible pipes. Wrap the pad around the frozen section on medium heat.
Warm (not hot) towels are another safe option: soak them in hot water, wring them out, wrap them around the pipe, and replace them every few minutes as they cool.
These methods are slower than a hair dryer but very safe, and suit situations where you leave the heat source in place while handling other tasks.
Never use towels or pads heated in a microwave or with boiling water. The extreme heat can damage pipes.
Gradual heat is always better than fast heat. A hair dryer on medium setting, applied for 30-60 minutes, beats a blowtorch applied for 2 minutes.
Step 5: Keep Heat Sources Moving
Movement is critical. Never let heat concentrate in one spot. A stationary heat source can overheat the pipe, melt solder joints, or cause pressure buildup that bursts the pipe.
If using a hair dryer, move it in a steady back-and-forth pattern. Cover the entire frozen section, not just one area.
With heating pads, you can leave them in place longer, but still check the pipe every 5-10 minutes. Rotate the pad to a slightly different position to distribute heat evenly.
The thawing process typically takes 30 minutes to several hours, depending on how much ice is blocking the pipe and how accessible it is. Patience pays off.
How Long It Takes Frozen Pipes to Thaw
Thawing time varies widely based on several factors. A small ice blockage in an accessible pipe may thaw in 30 minutes. A large blockage deep inside a wall could take several hours.
Factors that affect thawing time:
- Size of the frozen section (small blockage vs. long frozen run)
- Pipe material (copper thaws faster than plastic)
- Heat source used (hair dryer vs. heating pad)
- How accessible the pipe is
- Outdoor temperature (thawing is slower in extreme cold)
Most homeowners see water flow return within 1-2 hours of applying steady, gentle heat. If you have not seen any improvement after 2 hours, the blockage may be in a location you cannot access, or the frozen section may be much larger than expected.
If thawing is not working, stop trying and call a professional. Continuing to apply heat to an inaccessible pipe wastes time and risks damage.
What to Avoid When Thawing Frozen Pipes
Mistakes during thawing can cause burst pipes, fires, or damage to your home.
Never use these heat sources:
- Open flames (lighters, matches, candles)
- Blowtorches or propane torches
- Space heaters pointed directly at pipes
- Boiling water poured on pipes
- Extreme heat from any source
These methods cause sudden temperature shock. The ice melts too fast, pressure builds up, and the pipe bursts. Flames also create fire hazards, especially near wood, insulation, or other flammable materials.
Never:
- Apply heat in one spot continuously
- Leave heat sources unattended
- Thaw pipes in wet or flooded areas without shutting off water first
- Ignore active water leaks while thawing
- Assume the pipe is thawed just because water trickles out
Do not ignore these warning signs:
- Hissing or unusual sounds from the pipe
- Visible cracks or bulging in the pipe
- Water spraying or leaking while you apply heat
- Burning smells or smoke
If you notice any of these, stop immediately. You likely have a burst pipe, not a frozen one. Turn off your main shutoff valve and call a professional.
How to Prevent Pipes from Freezing
Prevention is far easier than thawing. A few simple steps protect your pipes during cold months.
Insulate exposed pipes:
Wrap pipes in foam pipe insulation sleeves.
For extra protection in very cold climates, use heat tape, electrical cables that warm the pipe.
Seal air leaks:
Caulk cracks around pipes where they pass through exterior walls.
Maintain water flow:
Let faucets drip slightly during freezing weather.
Keep cabinet doors open:
Under-sink cabinets in exterior walls trap cold air.
Leave heat on:
Never turn off your home’s heat during winter, even if you are away.
Drain exterior faucets:
Turn off the water supply to outdoor faucets before winter.
What to Do After Thawing and When to Call a Professional
Once water flows again, the thawing is complete. But your work is not finished.
Check for leaks immediately:
Turn off the faucet you left open.
If you see any leaks, turn off your main shutoff valve and call a professional.
Apply insulation now:
Once the immediate crisis is over, insulate the pipe that froze.
When to call a professional:
- You cannot locate the frozen pipe
- The pipe is in a wall, under a slab, or otherwise inaccessible
- You see active leaks or water damage
- Water pressure does not return to normal
- The same pipe freezes repeatedly
- You are unsure whether the pipe is frozen or burst
- You have no water to your entire home
At DeWolfe’s Affordable Plumbing, we respond to frozen pipe emergencies 24/7.
A burst pipe can cause thousands of dollars in water damage and mold growth.
Frozen pipes are stressful, but most can be thawed safely with patience and the right approach.
Frequently Asked Questions
Can you use a hair dryer to thaw frozen pipes?
Yes, a hair dryer is one of the safest household methods to thaw frozen pipes. Set it to medium heat and keep it moving back and forth along the pipe, maintaining a distance of 6-12 inches. This provides indirect, gradual heat that helps restore water flow without risking damage to the pipe or creating a fire hazard. Never use high heat or hold the dryer in one spot for extended periods.
How long does it take frozen pipes to thaw?
Thawing time varies depending on the pipe’s location, material, and how much of the line is frozen. Exposed pipes in accessible areas typically thaw within 30 minutes to 2 hours with consistent heat application. Frozen sections deep within walls or under foundations may take several hours. Start checking for water flow every 15-20 minutes after applying heat to monitor progress.
How can you tell if a frozen pipe has burst?
A burst pipe shows visible cracks, splits, or pinhole leaks along the line, often with water actively dripping or spraying. Frozen pipes show no water flow but no visible damage. If you see water pooling, staining on walls or ceilings, or smell musty odors after thawing, the pipe may have burst. If you suspect a burst, turn off the main shutoff valve immediately and call a licensed plumber to assess and repair the damage.
Should you turn off the water before thawing a frozen pipe?
No, keep the main water supply on so that as the ice blockage melts, water can flow through and confirm the pipe is thawing. However, open the affected faucet first to allow pressure to release and water to escape as the ice melts. If you discover a burst pipe during thawing, then shut off the main valve to prevent water damage while you arrange professional repairs.