

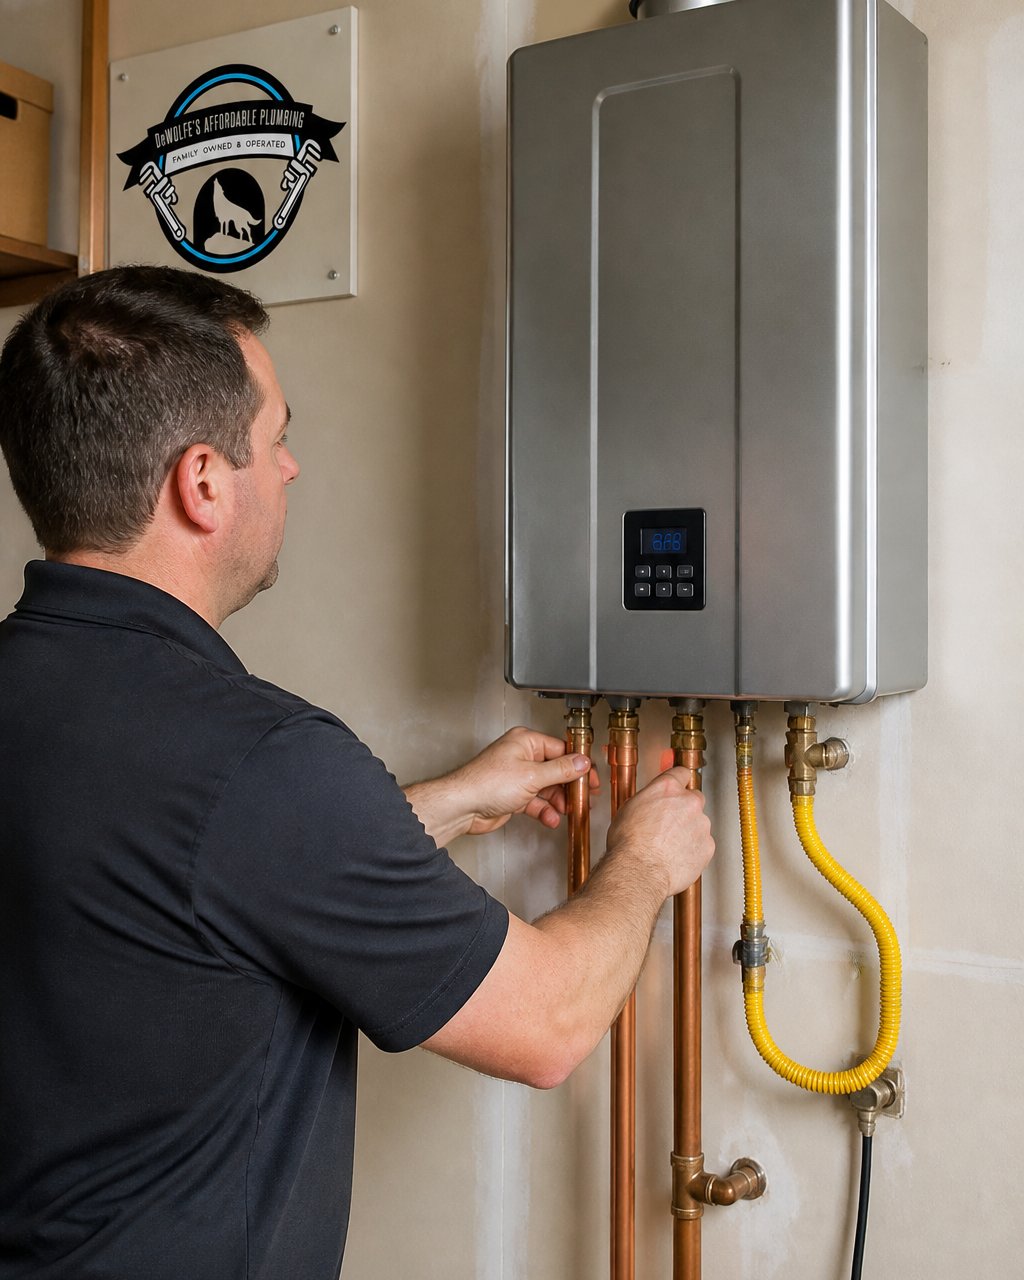
How to Install a Tankless Water Heater at Home
Last Updated: November 3, 2026
Quick Summary
To install tankless water heater systems, mount the unit, connect water lines with isolation and dielectric valves, install the pressure relief valve, and match the gas line or dedicated electrical circuit to the unit’s rating. Purge air from the lines, then test every gas joint with soapy water before firing the unit.
- Size the unit by winter temperature rise and total fixture flow, not by bathroom count.
- A unit rated near 199,000 BTU needs a gas line sized for that load over the actual run length.
- Electric units need a dedicated circuit matched to the manual, plus proper grounding.
- Most jurisdictions require a permit for water heater replacement, and tankless swaps often trigger inspections.
- Descale the heat exchanger periodically, typically circulating solution for 30 to 45 minutes.
Table of Contents
- Tools, Materials, and Code Checks Before You Start
- Tankless Water Heater Sizing and Gas Pipe Calculations
- How to Install an Electric Tankless Water Heater
- How to Install a Tankless Water Heater Gas Unit
- Reading an Electric Tankless Water Heater Installation Diagram
- Permits, Inspections, and Local Code Compliance
- Troubleshooting Common Post-Install Issues and Maintenance
- Booking a Licensed Tankless Installation in Collin County
- Frequently Asked Questions
Tools, Materials, and Code Checks Before You Start
Learning how to install tankless water heater systems starts with knowing what’s in the box and what’s on the wall. The unit itself is only half the job. The other half is the shutoff valve, the gas supply line, the venting system, and the electrical circuit that must all line up before you cut a single pipe.
Here’s the working checklist:
- Tankless unit sized for your household
- Mounting bracket and wall anchors rated for the unit’s weight
- Isolation valves and a drain valve for future descaling
- Pressure relief valve and thermal expansion tank
- Dielectric unions to stop corrosion at pipe joints
- Gas connector, gas pressure regulator, and approved pipe sealant
- Venting kit matched to the unit’s category
- Soapy water bottle for the gas leak test
- Pipe wrenches, tubing cutter, and a voltage tester
Watch out: skipping the isolation valves seems harmless. Six months later, descaling the unit means shutting water off to the whole house instead of two small valves.
Tankless Water Heater Sizing and Gas Pipe Calculations
Tankless water heater sizing comes down to one number: the temperature rise. That’s the gap between incoming groundwater and the hot water you want at the tap. A unit’s flow rating is always tied to a specific rise, so a model advertised at a given flow rate only delivers that flow at the rise printed on its spec sheet. Check the spec sheet, not the sticker.
Cold ground water in North Texas can run near 60°F in winter. A shower at 120°F needs a 60-degree rise. If the same unit is rated for a smaller rise, its real-world flow at 60 degrees will be lower than the box claims. Size to the winter rise, not the summer one.
Sizing by flow, not by bathroom count
A common mistake is sizing by bathroom count instead of flow rate. Add up the fixtures that can run at once: showerheads (2.5 gallons per minute each is the federal maximum for new fixtures), the dishwasher (roughly 1 to 2 gallons per minute during draw), and the washing machine (about 2 to 3 gallons per minute during fill). That total, not the floor plan, decides the unit.
Gas pipe sizing: the calculation most DIYers skip
For gas units, BTU capacity and pipe size must match. A long, undersized gas run starves the burner and triggers error codes. The mechanism is pressure drop: every foot of pipe and every fitting removes pressure from the gas stream, and a tankless unit pulls far more BTUs than the tank it replaces.
The calculation follows a standard method found in the National Fuel Gas Code (NFPA 54) and your local plumbing code: start with the unit’s BTU input, measure the total equivalent length of the run (including elbows and fittings), then read the required pipe diameter from the code’s capacity table for that length and pressure.
Watch out: upsizing the unit without upsizing the gas line is the single most common reason a new tankless install throws an ignition or flame-loss error on day one. The unit is fine; the pipe is starving it.
If you’re comparing household options before you commit, our breakdown of the 7 best tankless water heaters for families covers sizing for different home sizes.
How to Install an Electric Tankless Water Heater
Electric models are simpler on the plumbing side and stricter on the electrical side. Most whole-home electric units need a dedicated circuit, correct voltage requirements, and proper grounding.
Step by step:
- Shut off the circuit breaker and confirm power is dead with a voltage tester.
- Mount the unit on a sturdy wall using the mounting bracket, keeping venting clearance and service access in mind.
- Connect the water lines with dielectric unions and isolation valves.
- Install the pressure relief valve on the hot outlet side.
- Wire the unit to its dedicated circuit per the installation manual.
- Purge air from the lines by opening a hot tap before powering up.
- Restore power and check for leaks at every joint.
Watch out: wiring an electric tankless unit to an existing circuit because the breaker “looks big enough” is how panels get overloaded. Match the circuit to the manual, full stop.
How to Install a Tankless Water Heater Gas Unit
Gas installation adds two jobs electric units don’t have: gas line work and venting.
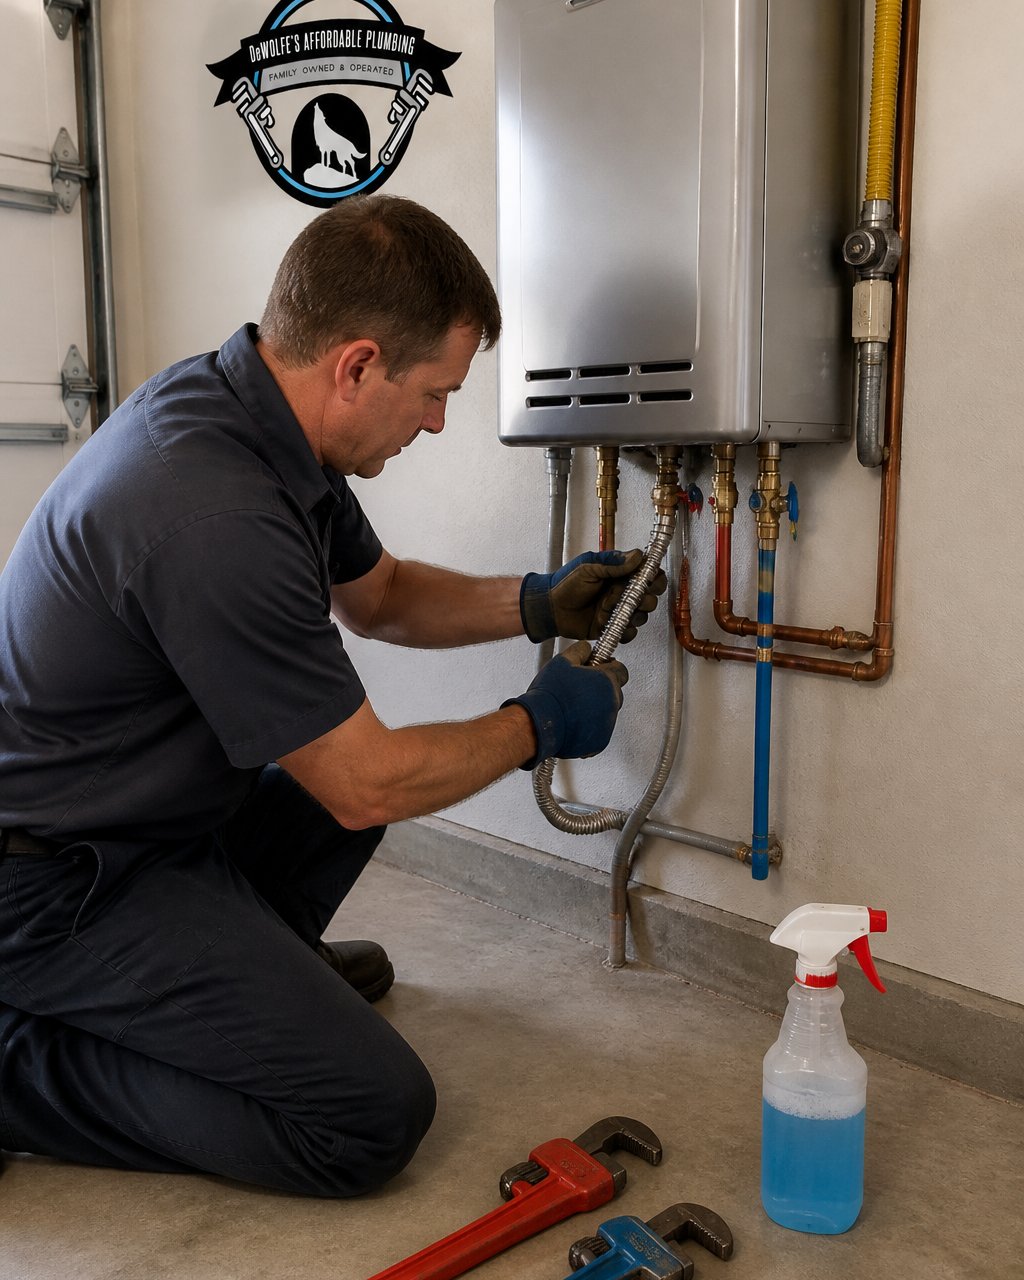
- Mount the unit with clearance for combustion air and vent termination.
- Run the gas supply line at the correct pipe size for the unit’s BTU capacity.
- Install a gas pressure regulator and a sediment trap.
- Connect the venting system using the approved material for your unit’s category, with correct venting clearance from windows and doors.
- Purge air from the gas line.
- Perform a gas leak test with soapy water at every connection.
- Fire the unit and set the temperature.
A gas leak test is not optional.
If you smell gas or the leak test bubbles, stop and call a licensed plumber.
Reading an Electric Tankless Water Heater Installation Diagram
An electric tankless water heater installation diagram looks busy, but it follows a simple order. Water enters cold, passes the inline filter, hits the heating elements, and exits hot through the pressure relief valve.
Look for these labels on any diagram:
- Cold inlet with shutoff valve and isolation valve
- Inline filter ahead of the elements
- Thermal expansion tank on the cold side
- Pressure relief valve on the hot outlet
- Grounding point on the unit chassis
- Drain valve at the lowest point
If a diagram shows a circuit breaker feeding the unit directly, that’s the dedicated circuit. If it shows a shared circuit, close the manual and recheck the model.
Permits, Inspections, and Local Code Compliance
Most jurisdictions require a permit for water heater replacement, and tankless swaps often trigger a gas or electrical inspection too. For local context and contacts on permitted work, see this guide to plumbing services in Collin County. Plumbing code and local amendments decide vent termination distance, gas pipe sizing, and electrical disconnect placement.
Skipping the permit saves a little time now and costs far more at resale or insurance claim time.
A common mistake is assuming the old water heater’s vent location still works. Tankless units vent differently, and the inspector will check clearance to windows, doors, and combustion air intakes.
Troubleshooting Common Post-Install Issues and Maintenance
The first week after you install tankless water heater equipment tells you a lot. Work through problems in order: confirm gas or power is actually reaching the unit, confirm water is flowing, then confirm the unit is venting and exhausting correctly. Most callbacks fall into one of those three buckets.
| Problem | Likely Cause | Fix |
|---|---|---|
| Unit won’t fire | Air in gas line, or gas valve closed | Purge air at the test port, confirm the shutoff is open, retest |
| Water not hot enough | Flow rate too high for the rise | Lower flow at fixtures or raise the set temperature |
| Error code on startup | Restricted venting or blocked intake | Check vent termination, clear obstructions, confirm clearance |
| Pressure drops at fixtures | Clogged inline filter or scale buildup | Clean or replace the filter, descale the heat exchanger |
| Flame loss mid-draw | Gas pressure or flame sensor fault | Verify supply pressure with a manometer, clean the sensor |
| Water smells or tastes off | Sediment or anode-related buildup | Flush the unit, check the inlet filter |
Reading error codes
Every manufacturer publishes a code list in the installation manual, and the code usually points to a system, not a part. A venting code means check termination and clearance before replacing anything. An ignition code means check gas supply and the igniter before assuming the board failed. Keep the manual with the unit; it is the first diagnostic tool.
Annual descaling: the maintenance that decides lifespan
Sediment and scale can reduce efficiency over time, so plan on descaling periodically in hard-water areas. The procedure is straightforward if you installed isolation valves and a drain valve at startup:
- Shut off the unit and close the cold and hot isolation valves.
- Connect a pump and two hoses to the service ports, with a bucket of descaling solution (a food-grade descaler mixed per its label).
- Circulate the solution through the unit for the time the manufacturer specifies, typically 30 to 45 minutes.
- Flush with clean water until the runoff runs clear.
- Reopen the isolation valves, purge air, and restore power.
If your unit keeps losing its flame, our guide on why your water heater pilot light keeps going out walks through the causes.
Booking a Licensed Tankless Installation in Collin County
DIY tankless work is legal in some places and risky in all of them. Gas connections, venting, and electrical circuits each carry a code requirement, and a mistake in any one can void your warranty or fail inspection.
If you’d rather hand it to a licensed crew, our tankless water heater installation service can help. We’re family owned, fully licensed and insured (Master License # M39597), and we back all labor with a full written warranty.
Frequently Asked Questions
Can I install a tankless water heater on my own?
You can handle the planning and some prep work, but the connections that matter are licensed work in most jurisdictions. Running a dedicated 240-volt circuit, sizing and testing a gas supply line, cutting a new vent termination, and pulling the permit all require a licensed plumber or electrician and an inspection. A tankless water heater draws far more power or gas than the tank unit it replaces, so an undersized circuit or gas manifold is a real safety risk. For a code-compliant install, book a licensed pro.
How do you size a tankless water heater for a home?
Start with the flow rate and temperature rise. Add the gallons per minute of the fixtures you expect to run at once (a shower is roughly 2.5 gpm, a kitchen faucet about 1.5 gpm), then subtract the incoming groundwater temperature from your target hot-water temperature. In North Texas, incoming water sits around 60 to 70 degrees Fahrenheit, so a 120-degree target is a rise of about 50 to 60 degrees. Match that flow-and-rise pair to the unit’s rating, and confirm the BTU capacity or electrical load your home can support.
Does a tankless water heater need a dedicated electrical circuit?
Yes. Electric tankless units pull a large current, often 60 to 120 amps depending on the model, so they need their own dedicated circuit and breaker sized to the manufacturer’s voltage requirements. That circuit usually means a new run of heavy-gauge wire from the main panel, and some homes need a panel upgrade to carry it. A licensed electrician should confirm the load calculation and bond the unit to ground before the inspection.
What permits and inspections may be needed for tankless water heater installation?
Most jurisdictions require a plumbing permit and, for gas units, a mechanical or gas permit, followed by an inspection of the water connections, gas leak test, venting clearance, and combustion air. Electric installs need an electrical permit and inspection of the dedicated circuit and grounding. Skipping the permit can void the manufacturer’s warranty and create problems at resale. Confirm the local requirements with your building department before any work begins.
A tankless upgrade should lower your utility bills and free up garage space, not become a weekend of error codes and leak checks. DeWolfe’s Affordable Plumbing handles the sizing, permits, gas line work, and venting so the unit runs right from day one, with transparent up-front pricing, on-site estimates, and 24/7 emergency availability across the Wylie area. Call (972) 632-9935 to schedule your installation.
