
How Do You Prepare Your Plumbing for Winter?
Last Updated: October 29, 2026
Quick Summary
To prepare your plumbing for winter, drain and disconnect outdoor hoses, shut off outdoor faucet valves, and insulate exposed pipes in garages, crawl spaces, and attics with foam sleeves or heat tape. Keep your thermostat steady, seal drafts, and shut off the main water supply before you travel.
- Disconnect every garden hose and leave outdoor spigots open through winter so trapped water has room to expand.
- Foam sleeves should be 1/2 inch to 1 inch thick on interior runs and 1 inch or more near exterior walls.
- Close foundation vents in a vented crawl space and insulate the rim joist in an encapsulated one.
- Keep the thermostat steady day and night, and open cabinet doors under sinks on outside walls.
- Shut off the main water supply and open the lowest faucet to drain lines before leaving town.
Table of Contents
- What You’ll Need Before You Start
- Step 1: Drain Outdoor Hose Bibs and Disconnect Hoses
- Step 2: Choose Pipe Insulation Materials for Winter
- Step 3: Prevent Frozen Pipes in Crawl Spaces and Attics
- Step 4: Set Thermostat Settings and Open Interior Cabinet Doors
- Step 5: Seal Drafts and Insulate the Water Supply Line
- Step 6: Shut Off the Main Water Supply Before You Travel
- How to Safely Thaw Frozen Pipes Without Bursting Them
- Frequently Asked Questions
What You’ll Need Before You Start
Learning how to prepare your plumbing for winter starts with a simple supply run. Gather your materials before the first freeze, not during it. Hardware stores can sell out quickly when a cold snap is forecast.
Here is what to have on hand:
- Pipe insulation sleeves or fiberglass pipe wrap
- Heat tape rated for residential pipes
- Caulk and spray foam for sealing gaps
- A bucket and towel for draining lines
- An adjustable wrench or pliers
- Foam covers for outdoor faucets
Plumbing for winter is mostly about cheap materials used early. A few dollars of foam beats a burst pipe repair every time. The EPA’s guide to conserving water at home also notes that well-maintained pipes and fixtures waste less water year-round.
Step 1: Drain Outdoor Hose Bibs and Disconnect Hoses
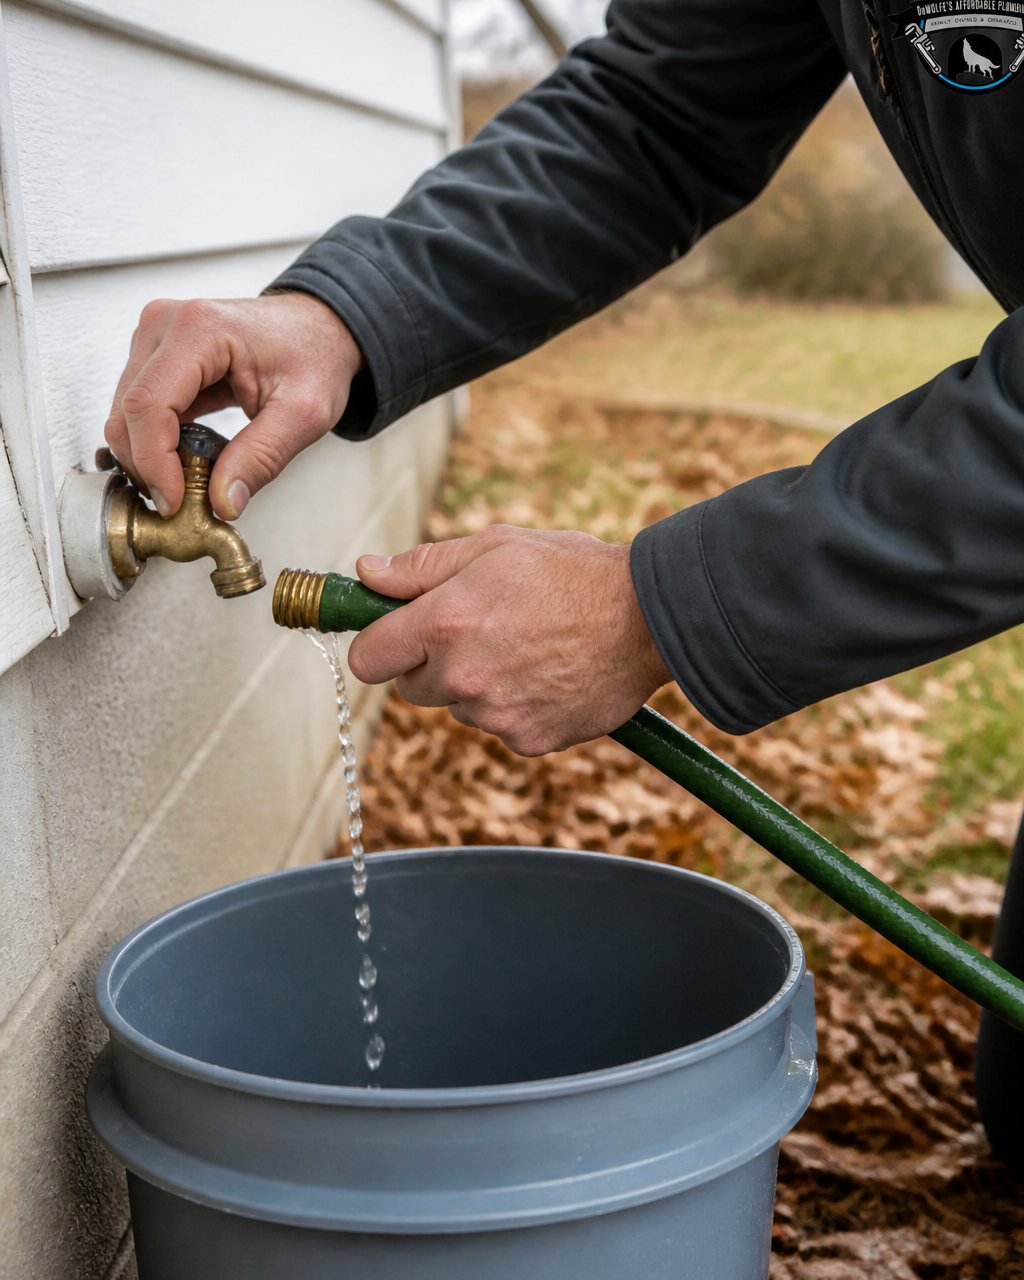
Start outside. Disconnect every garden hose from its spigot and coil it for storage. A hose left connected traps water inside the faucet, and that trapped water splits the pipe when it expands.
Next, shut off the indoor valve that feeds your outdoor faucets, if your home has one. Open the outdoor spigot to let the remaining water drain out. Leave it open through winter so any leftover water has room to expand.
If you spot a drip or a damaged valve while draining, don’t ignore it. You can learn whether you can fix a leaking outdoor hose bibb yourself.
Step 2: Choose Pipe Insulation Materials for Winter
Pipe insulation materials for winter fall into a few basic types, and each suits a different spot and a different pipe material. Matching the insulation to the pipe material matters, since the right wrap and heat cable depend on the pipe involved.
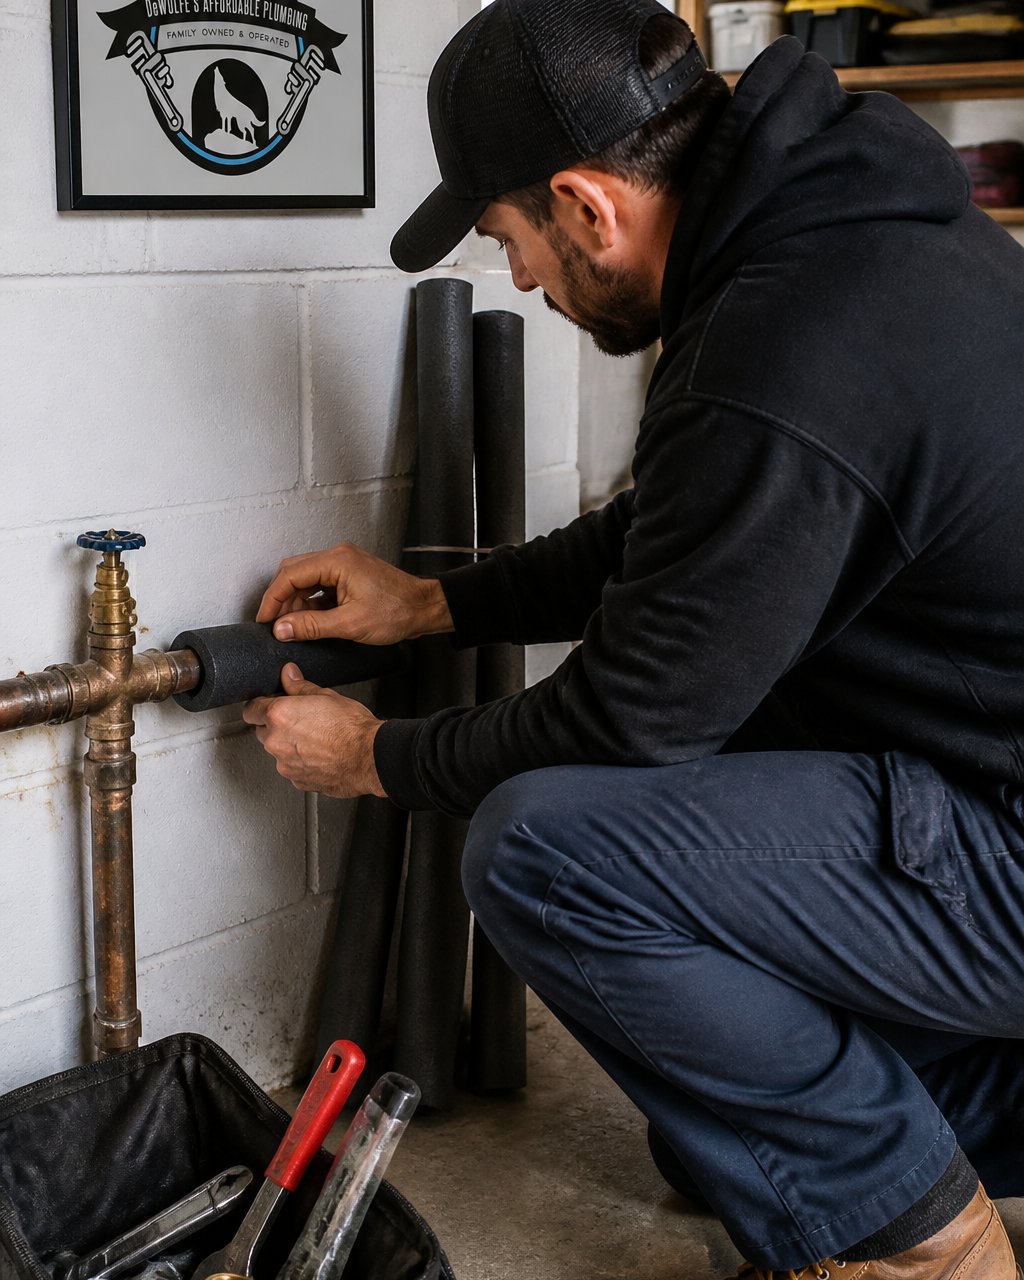
- Foam sleeves (closed-cell): snap-on tubes for straight runs. Look for wall thickness of 1/2 inch to 1 inch on interior runs and 1 inch or more on exterior-wall or crawl space runs. Cheap, fast, and the default for copper and PEX supply lines.
- Fiberglass wrap: good for odd angles, tight corners, and valve bodies where a sleeve won’t seat. Wrap it, then tape the seam, exposed fiberglass wicks condensation and loses performance when wet.
- Heat tape (self-regulating electric cable): the right choice for pipes that freeze every year. Self-regulating cable throttles its own output as the pipe warms, which is safer than the older constant-wattage style. Match the cable length to the pipe run and plug it into a grounded, GFCI-protected outlet. Never overlap the cable on itself, overlapping causes hot spots and can melt the jacket.
- Faucet covers: foam caps or insulated hard covers for outdoor spigots. A hard cover with a gasket seals better than a plain foam cap on a windy wall.
Match the insulation to the pipe material. Copper conducts cold fast and is the most burst-prone at joints; it benefits most from a heat cable plus a thick sleeve. PEX tolerates freeze expansion better than copper or rigid PVC, but it still splits at fittings and crimp rings, so insulate the fittings, not just the straight run. Rigid PVC is the least forgiving, it cracks rather than expands, so any PVC line in an unheated space needs both a sleeve and a heat source or a full drain-down.
Add a smart layer. A Wi-Fi temperature sensor or a smart leak detector placed in the crawl space, garage, or under the kitchen sink can alert you before a pipe freezes. Pairing it with a smart thermostat lets the heat respond if the sensor reads near freezing while you’re away.
Heat tape must be plugged into a grounded, GFCI-protected outlet and never overlapped on itself. Overlapping the cable can cause it to overheat. Check the cable’s label for its rated length and do not extend it with an extension cord that isn’t rated for the load.
Wrap every exposed pipe in the garage, along exterior walls, and under the house. Pay close attention to elbows, joints, and valve bodies, where cold air gets in and water sits.
Step 3: Prevent Frozen Pipes in Crawl Spaces and Attics
Preventing frozen pipes in crawl spaces starts with closing the vents, but the right move depends on what kind of crawl space you have. Readers in North Texas can find region-specific guidance for preventing frozen pipes. In a traditional vented crawl space, open foundation vents let cold air blow straight across your pipes. Close them for the season, then check that every pipe running through the space is wrapped and, where it freezes repeatedly, fitted with self-regulating heat cable.
Don’t skip the vapor barrier. A bare dirt floor in a vented crawl space dumps moisture into the air, and wet insulation loses most of its R-value. A 6-mil polyethylene vapor barrier over the dirt, lapped and taped at the seams, keeps the insulation dry and the pipes warmer. A vapor barrier helps keep insulation dry and pipes warmer.
Attic pipes need separation, not burial. In the attic, look for pipes near the roof deck or in open bays. Add insulation between the pipe and the cold surface, a foam sleeve plus a layer of batt insulation on the cold side. Never bury a pipe completely in insulation if it carries heat, because you want warm room air to reach it, but do keep it off bare wood near vents and soffits where cold air pours in. Seal the top plates and any penetrations where pipes pass from the conditioned space into the attic; that gap is a chimney for cold air.
Add a freeze alarm. A Wi-Fi temperature sensor in the crawl space and another in the attic can be set to alert you before temperatures reach freezing. Pair it with a smart leak detector near the water heater and main line. A crawl space sensor is a useful place to start, since cold air tends to accumulate there first.
If your crawl space freezes every year no matter what you do, a licensed plumber can assess whether heat cable, additional insulation, or a crawl space encapsulation is the right fix for your foundation type. The cheapest option isn’t always the one that stops the next burst.
Step 4: Set Thermostat Settings and Open Interior Cabinet Doors
Keep your thermostat at a steady temperature day and night, even when you’re gone. Dropping it overnight to save money is a common mistake. A cold house is exactly what lets pipes on exterior walls freeze.
Open the cabinet doors under sinks on outside walls. This lets warm room air reach the pipes behind the cabinet. Do the same for the kitchen sink if it sits against an exterior wall.
A simple rule: if the outdoor temperature drops well below freezing, leave the cabinet doors open and let a thin trickle run from the farthest faucet. Moving water freezes far more slowly than still water.
Step 5: Seal Drafts and Insulate the Water Supply Line
Cold air finds every gap. Walk the outside of your home and seal openings where pipes, wires, and dryer vents pass through the wall. Use caulk for small cracks and spray foam for bigger gaps.
Insulate the main water supply line, especially where it enters the house and runs through unheated space. A bare line in a cold garage or crawl space is a prime candidate for a pipe burst.
Check basement windows and sill plates too. A draft you can feel on your hand in October becomes a frozen pipe in January.
Step 6: Shut Off the Main Water Supply Before You Travel
Leaving town for the holidays? Shut off the main water supply at the meter or the main valve. Then open the lowest faucet in the house to drain the lines.
This one step prevents the worst outcome: a pipe that bursts while you’re away and floods the house for days before anyone notices. If you’d rather have it handled before you leave, contact a licensed plumber to winterize the system for you. You can also book a local Plano plumber to handle winterization before your trip.
How to Safely Thaw Frozen Pipes Without Bursting Them
Thawing a frozen pipe the wrong way is how a small problem becomes a flooded floor. For detailed safe-thawing steps, follow the full guide. Never use an open flame, and never pour boiling water directly on a pipe. Rapid heat shocks the metal or plastic and can crack it.
Here is the safe order of operations:
- Shut off the main water supply first.
- Open the nearest faucet so melting water has somewhere to go.
- Warm the pipe with a hair dryer, starting at the faucet end and working toward the frozen section.
- Wrap the pipe in towels soaked in warm water for stubborn spots.
- Watch for leaks as it thaws. A crack often shows up only once water flows.
If you can’t find the frozen section, or the pipe won’t thaw, stop and call a licensed plumber.
| Problem | Safe Fix | What to Avoid |
|---|---|---|
| Frozen outdoor spigot | Hair dryer on low, working outward | Open flame or boiling water |
| Frozen pipe under sink | Open cabinet doors, warm with hair dryer | Leaving cabinet closed |
| Frozen main line | Shut off supply, call a plumber | Forcing water through |
| Cracked pipe after thaw | Shut off main, call for repair | Running water to “test” it |
DeWolfe’s Affordable Plumbing offers slab leak location and repair, waterline repairs, and 24/7 emergency service. Our team is licensed and insured, and our work carries a full written warranty on labor.
Frequently Asked Questions
At what temperature do pipes freeze?
Water begins freezing at 32°F, but pipes in unheated spaces like crawl spaces and attics can freeze when outdoor temperatures drop below 20°F, especially if drafts reach the pipes. The pipe freezing point matters most when wind chill and poor insulation combine. Setting your thermostat to at least 55°F and insulating exposed pipes gives your plumbing for winter a real margin of safety.
Should I leave my faucets dripping in freezing weather?
A slow drip on an interior faucet, especially one on an exterior wall, relieves pressure inside the pipes and makes a burst less likely. Open both hot and cold handles slightly. This is a temporary measure during a hard freeze, not a substitute for insulation or draft sealing. Pair it with open cabinet doors so warm room air reaches the supply line.
How do I drain my outdoor faucets for winter?
Disconnect every hose first. Shut off the indoor valve that feeds the hose bibb, then open the outdoor spigot to let trapped water drain out. If your home has a bleeder valve, open it to release remaining water. Leave the outdoor handle open through winter so any residual water has room to expand. This step alone prevents many of the most common cold-weather pipe bursts.
Do I need to turn off my main water supply if I leave for the winter?
Yes, for extended absences. Shut off the main water supply, then open the lowest faucet in the house to drain remaining water from the lines. Turn off the water heater if the power or gas will stay on unattended. For a vacation home, this is an important winterization step. For a year-round residence, keep the thermostat at 55°F or higher instead.
Winter comes fast in North Texas, and the first hard freeze rarely gives warning. Don’t wait for a burst pipe to find out how your home handles the cold. DeWolfe’s Affordable Plumbing offers 24/7 emergency service, transparent up-front pricing, and same-day or 24-hour response to inquiries. Get started with DeWolfe’s Affordable Plumbing and protect your home before the temperature drops. Call (972) 632-9935.
