
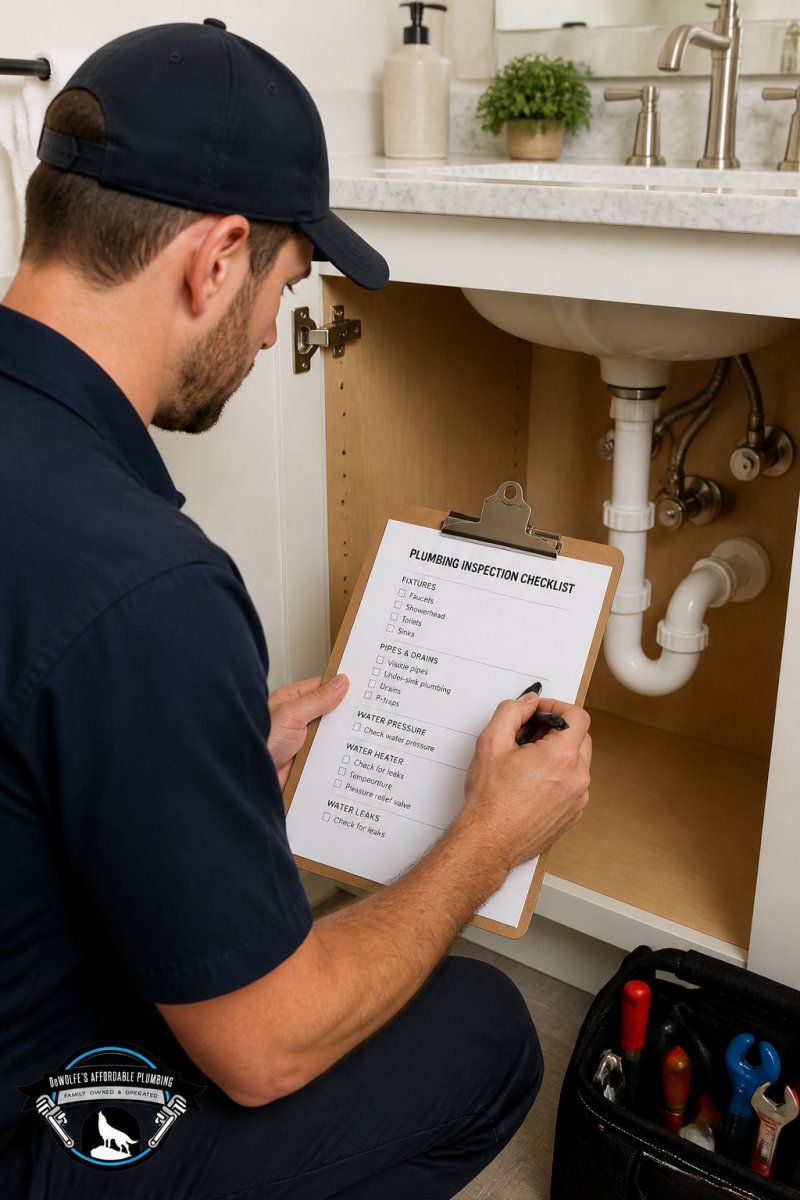
Plumbing Inspection Checklist for Homeowners
Table of Contents
- Why a Plumbing Inspection Checklist Matters for Homeowners
- Kitchen Plumbing Inspection: What to Look For
- Bathroom Fixture Assessment and Leak Detection
- Signs of a Hidden Water Leak You Should Never Ignore
- How to Check Water Pressure in a House
- Water Heater Maintenance and Safety Inspection
- How to Safely Thaw Frozen Pipes Without Bursting
- Plumbing Maintenance Schedule for Homeowners
- Conclusion
- Frequently Asked Questions
Last Updated: October 2, 2026
Why a Plumbing Inspection Checklist Matters for Homeowners
A plumbing inspection checklist is your first line of defense against costly water damage, mold growth, and emergency repairs that can derail your budget. Most homeowners don’t think about their plumbing until something breaks. By then, you’re looking at structural damage, foundation issues, or a midnight call to an emergency plumber.
The truth is simpler: regular inspections catch problems early. A small leak under your sink today becomes a rotted subfloor in six months if ignored. At DeWolfe’s Affordable Plumbing, we’ve seen countless situations where a homeowner could have prevented thousands in damage with a basic visual inspection.
This guide walks you through a comprehensive plumbing inspection checklist you can perform yourself. You’ll learn what to look for in every part of your home’s plumbing system, from visible pipes to water pressure to your water heater. Some issues you’ll fix yourself. Others signal when it’s time to call a professional.
Kitchen Plumbing Inspection: What to Look For
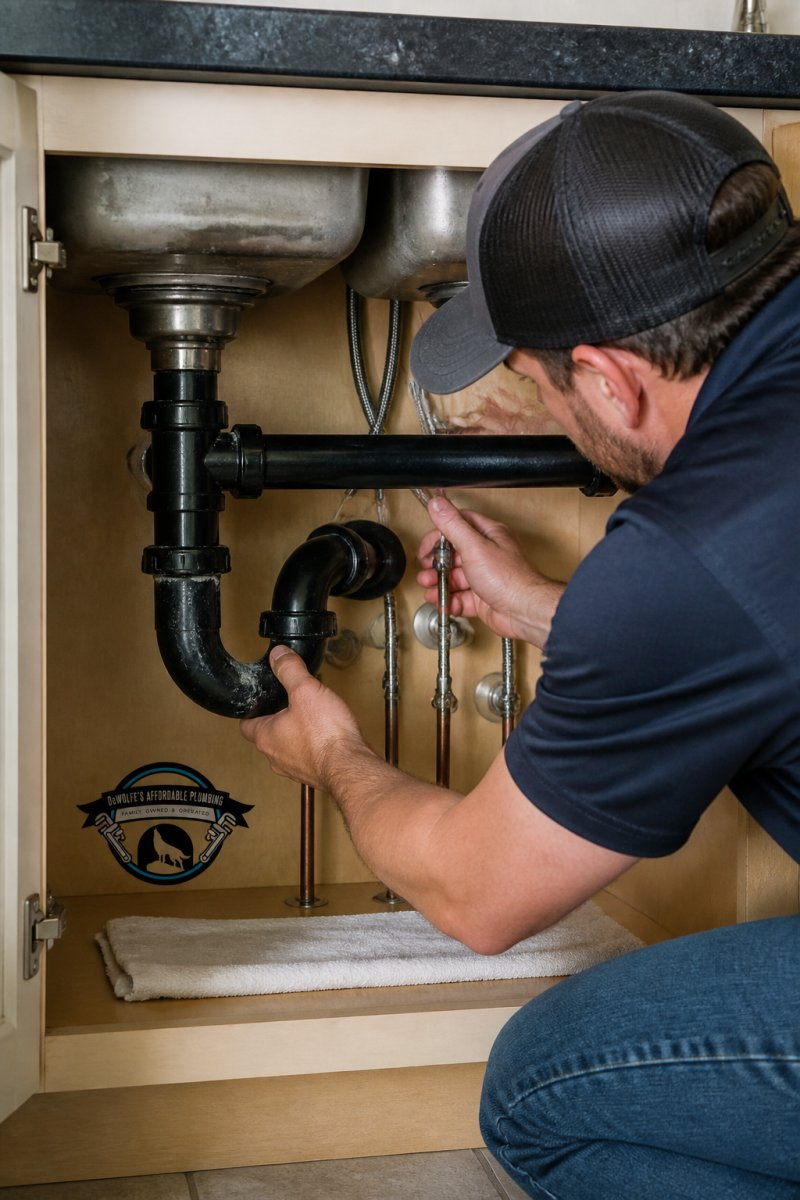
Start your inspection where most leaks begin: under the kitchen sink. This area experiences constant use and contains multiple connection points where problems hide.
Open the cabinet doors and look directly at the P-trap, the curved pipe below the drain. Check for water stains, mineral deposits, or active dripping. Feel the pipe with your hand (use a cloth if water is present). It should be dry to the touch. Any moisture means a slow leak that’s already causing damage.
Trace the supply lines running to the faucet. These flexible hoses or rigid copper pipes can develop pinhole leaks or cracks over years of pressure cycling. Look for white mineral buildup, which indicates slow seeping. Gently squeeze rubber supply lines; they should feel firm, not soft or spongy.
Check the faucet aerator, the small screen at the faucet tip. Unscrew it and hold it to the light. Sediment buildup restricts water flow and signals that debris is circulating through your system. A clogged aerator is easy to clean but suggests your water pressure or water quality may need attention. If you notice persistent sediment or mineral buildup, Faucet Repair or Replacement may be needed to restore proper flow.
Look at the garbage disposal mounting. If you have one, verify the rubber gasket seal is intact and not cracked. A failing gasket allows water to seep into the cabinet. Test the disposal by running cold water and listening for unusual grinding sounds, a sign of internal corrosion or foreign objects.
Finally, check the shut-off valve under the sink. This valve controls water flow to your kitchen. Turn it clockwise a quarter turn, then back. It should move smoothly. A stuck valve that won’t budge means it may fail when you actually need it during an emergency.
Bathroom Fixture Assessment and Leak Detection
Bathrooms account for nearly 30% of household water use, making them prime territory for hidden leaks. Start with the toilet, which is often the culprit in silent water waste.
Place a few drops of food coloring in the tank (not the bowl). Wait five minutes without flushing. If the color appears in the bowl, your flapper valve is leaking. This single repair can save thousands of gallons annually. Check the base of the toilet for water stains or soft spots in the flooring, signs of a slow leak that’s been running undetected. A leaking toilet is one of the most common issues we address through Toilet Repair or Replacement services.
Move to the sink. Turn on the faucet and watch the aerator. Water should flow steadily without sputtering. Sputtering indicates sediment or debris in the supply line. Check the shutoff valve under the sink using the same method as the kitchen: it should turn smoothly without resistance.
Inspect the tub and shower surround. Look for caulk that’s cracked, peeling, or missing entirely. Compromised caulk allows water to seep behind tile and into walls, where it breeds mold and rots framing. Run your hand along the caulk line; it should feel solid and flexible, not brittle.
Check the P-trap under the sink and tub drain. Any visible water pooling or staining means a leak. Tighten any loose connections by hand first, many slow leaks come from fittings that have vibrated loose over time. If tightening doesn’t stop the leak, the gasket has failed and needs professional replacement.
Signs of a Hidden Water Leak You Should Never Ignore
A hidden water leak is the most expensive plumbing problem because damage accumulates silently for months or years before you notice it. Learn to recognize these warning signs.
Water stains on ceilings or walls are the most obvious indicator. A brownish or yellowish stain means water has been traveling through your structure. The stain location doesn’t always match the leak location, water travels along joists and studs, sometimes running several feet from where it entered. Any new stain warrants investigation.
Soft or spongy flooring in bathrooms, kitchens, or laundry areas signals moisture damage to subfloors. Press on the floor with your foot; it should feel solid. Springy or soft areas mean water has compromised the structural integrity. This damage accelerates quickly and becomes expensive to repair.
Mold or mildew smell in cabinets, crawl spaces, or basements indicates moisture buildup. Mold grows wherever water collects, even in small amounts. A musty smell often precedes visible mold by weeks.
Higher-than-normal water bills are a red flag. If your usage pattern hasn’t changed but your bill jumped, you likely have a leak. A single dripping faucet or running toilet can waste 15 gallons daily, 450 gallons monthly. Catch it early.
Discolored water coming from faucets suggests corrosion inside pipes or a contaminated water supply line. Brown or reddish water indicates rust buildup. Call DeWolfe’s Affordable Plumbing for water quality testing and leak detection if this occurs.
Wet spots in your yard during dry weather indicate an underground water line leak.
How to Check Water Pressure in a House
Water pressure affects everything from shower performance to appliance longevity. Low pressure indicates a problem; high pressure damages pipes and fixtures prematurely.
Water Heater Maintenance and Safety Inspection
Your water heater is one of the most important, and most neglected, systems in your home. A failing water heater can flood your home or create a dangerous gas leak if you have a gas model.
How to Safely Thaw Frozen Pipes Without Bursting
Wrap the frozen section with heat tape or electric heating cable (available at hardware stores). This applies gentle, even heat over time. Leave it on for several hours if needed.
Plumbing Maintenance Schedule for Homeowners
Consistency prevents emergencies. Follow this plumbing maintenance schedule to catch problems early and keep your system running smoothly.
| Task | Frequency | Why It Matters |
|---|---|---|
| Check for visible leaks under sinks | Monthly | Catches slow leaks before damage spreads |
| Test toilet for silent leaks (food coloring test) | Quarterly | A leaking toilet wastes thousands of gallons annually |
| Clean faucet aerators | Quarterly | Removes sediment buildup that restricts flow |
| Check water pressure | Annually | Identifies pressure problems early |
| Inspect water heater for leaks and corrosion | Annually | Prevents catastrophic failure and flooding |
| Flush water heater drain valve | Annually | Removes sediment that reduces efficiency |
| Test shut-off valves | Annually | Ensures they work when you need them |
| Inspect visible pipes for corrosion or damage | Annually | Catches deterioration before rupture |
| Check caulk around tubs and showers | Annually | Prevents water intrusion into walls |
| Professional plumbing inspection | Every 3-5 years | Identifies hidden problems before they become expensive |
Conclusion
Your plumbing system works silently until it fails catastrophically. A methodical approach to inspection and maintenance catches problems when they’re small and inexpensive to fix. Start with the checklist in this guide, it takes an hour and costs nothing. Pay attention to the warning signs: stains, soft floors, unusual sounds, and pressure changes.
Frequently Asked Questions
What should be included in a plumbing inspection checklist?
A thorough plumbing inspection checklist covers kitchen and bathroom fixtures, water heater condition, visible piping and joints, shut-off valve functionality, water pressure testing, drainage system health, and signs of leaks or moisture damage. You should also inspect the sewer cleanout, P-traps, supply lines, and waste piping. This comprehensive approach helps catch problems before they become costly repairs.
How often should a homeowner perform a plumbing inspection?
Homeowners should perform a visual plumbing inspection at least twice yearly, once in fall and once in spring, to catch seasonal issues like frozen pipes or sediment buildup. More frequent checks are wise if you notice water pressure changes, unusual sounds, or have older plumbing. Professional inspections are recommended every 3-5 years to identify hidden problems like pipe corrosion or backflow prevention failures that DIY inspections might miss.
What are the most common plumbing red flags during a home inspection?
Red flags include visible corrosion on pipes or joints, water stains on ceilings or walls indicating moisture damage, low water pressure, slow drains, water hammer sounds, leaking faucets or fixtures, and a water heater showing sediment buildup or rust. Shut-off valves that won’t turn, missing or damaged gaskets, and standing water around the sump pump are serious warning signs. Any visible signs of mold or mildew near plumbing areas demand immediate professional attention.
Can I perform a plumbing inspection myself or do I need a professional?
You can perform a basic visual inspection yourself using a plumbing inspection checklist to spot obvious issues like leaks, water stains, or corrosion. However, a licensed professional can identify hidden problems such as slab leaks, internal pipe corrosion, backflow prevention failures, and gas line safety issues that require specialized equipment. For comprehensive assessment, especially before buying a home or if you suspect major issues, professional inspection is worth the investment to avoid costly surprises.
What does a whole home plumbing inspection include?
A professional whole-home plumbing inspection examines all supply lines and waste piping, tests water pressure and static pressure, checks the water heater’s anode rod and pressure relief valve, inspects the sewer cleanout and main water line, evaluates fixture functionality, looks for signs of water hammer or backflow issues, and checks for hidden leaks using specialized leak detection equipment. The inspector also assesses rough-in areas, hose bibbs, and drainage systems, then provides recommendations based on plumbing code compliance.