

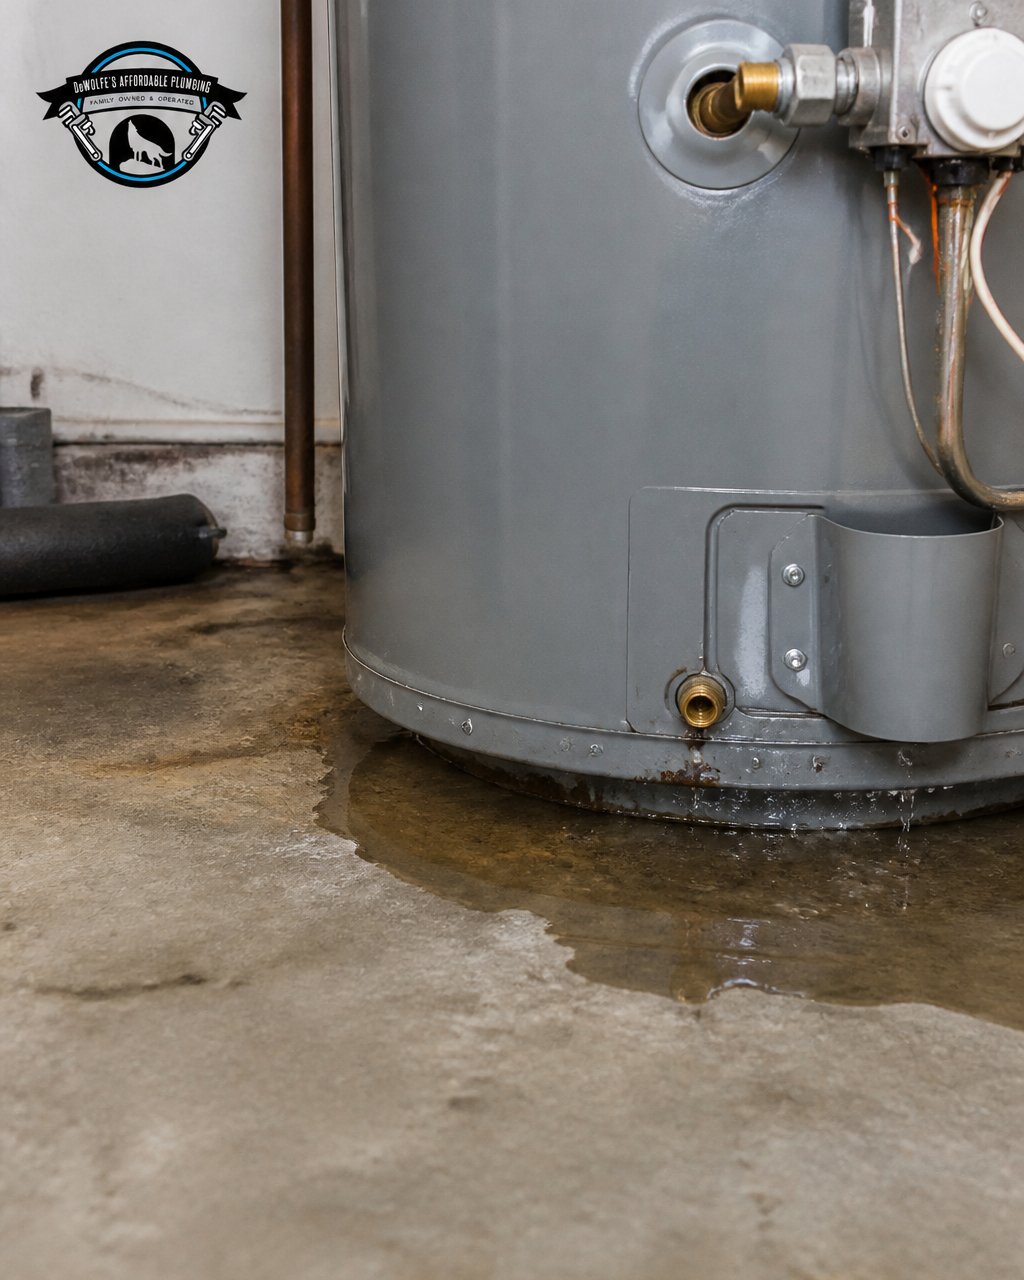
Electric Water Heater Leaking From Bottom: What to Do
Table of Contents
- Why Your Electric Water Heater Is Leaking From the Bottom
- Water Heater Leak Troubleshooting: A Step-by-Step Diagnostic Sequence
- How to Shut Off an Electric Water Heater Safely
- Water Heater Leaking From Element Panel: Gasket and Element Seals
- Fittings, Drain Valves, and the T&P Relief Valve
- Water Heater Repair or Replacement: How to Decide
- Emergency Response and Damage Prevention
- Conclusion
- Frequently Asked Questions
Last Updated: October 17, 2026
Why Your Electric Water Heater Is Leaking From the Bottom
A puddle under an electric water heater almost always points to one of four things: a bad element gasket, a loose fitting, a failed drain valve, or a cracked tank. At DeWolfe’s Affordable Plumbing, we walk homeowners through this exact diagnosis every week, and the good news is that most bottom leaks are repairable. The bad news? A leaking tank is not.
Water heater leaking from the bottom is one of the most common calls we get. Here is the part most guides skip: where the water lands tells you almost nothing. Where it starts tells you everything. Our team at DeWolfe’s Affordable Plumbing has traced enough of these to know the difference.
So before you grab a mop, find the source. Below, we will show you exactly how to do that safely, step by step.
Tank Leak vs. Water Running Down From Above
A tank leak means the steel shell itself has failed. That is a replacement, not a repair. Water running down from above means a fitting, gasket, or valve is the culprit, and those are usually fixable.
Here is the test. Dry the floor and the tank completely. Wait 30 minutes. Then look for the first wet spot. If water beads from the seam or the tank wall itself, the tank has failed. If it appears at a pipe, valve, or panel, you have a repairable leak.
Rust streaks running down the tank wall are a strong sign of tank corrosion. That is the one scenario where we tell homeowners to plan for a new unit rather than a repair.
Water Heater Leak Troubleshooting: A Step-by-Step Diagnostic Sequence
Water heater leak troubleshooting works best in a fixed order. Work from the top down, and you will find the source without tearing anything apart.
- Shut off power and water first. Never skip this.
- Dry everything. Tank, pipes, floor.
- Check the inlet and outlet pipes at the top for drips.
- Inspect the T&P relief valve and its discharge pipe.
- Open the element panel and look for moisture inside.
- Check the drain valve at the bottom.
- Watch the tank seam for 30 minutes.
The first wet spot you see is your leak source. Everything after that is just confirmation.
Tie a dry paper towel around each pipe connection before you start. The first one that gets wet tells you exactly where the water is coming from, even if the drip is slow enough to hide from your eyes.
How to Shut Off an Electric Water Heater Safely
Shutting off an electric water heater safely means cutting power at the breaker before you touch water or wiring. Water and live electricity do not mix, and an element can stay hot even after the thermostat clicks off.
Here is the safe shutdown sequence:
- Flip the circuit breaker to OFF at your panel. Most electric water heaters use a double-pole breaker.
- Test with a non-contact voltage tester at the element terminals if you plan to open the panel.
- Close the cold-water shutoff valve on the inlet pipe above the tank.
- Open a hot-water faucet in the house to relieve pressure.
- Attach a hose to the drain valve if you need to drain the tank.
Never drain a tank while the power is on. A dry heating element will burn out within seconds, and that turns a cheap repair into a full element replacement.
Electrical safety guidance from the U.S. Consumer Product Safety Commission
Water Heater Leaking From Element Panel: Gasket and Element Seals
Water heater leaking from element panel openings is the single most common bottom leak we see on electric units. The lower heating element sits behind a small panel near the floor, sealed by a rubber gasket. When that gasket dries out, cracks, or loosens, water seeps past it and runs down to the floor. It looks exactly like a tank leak.
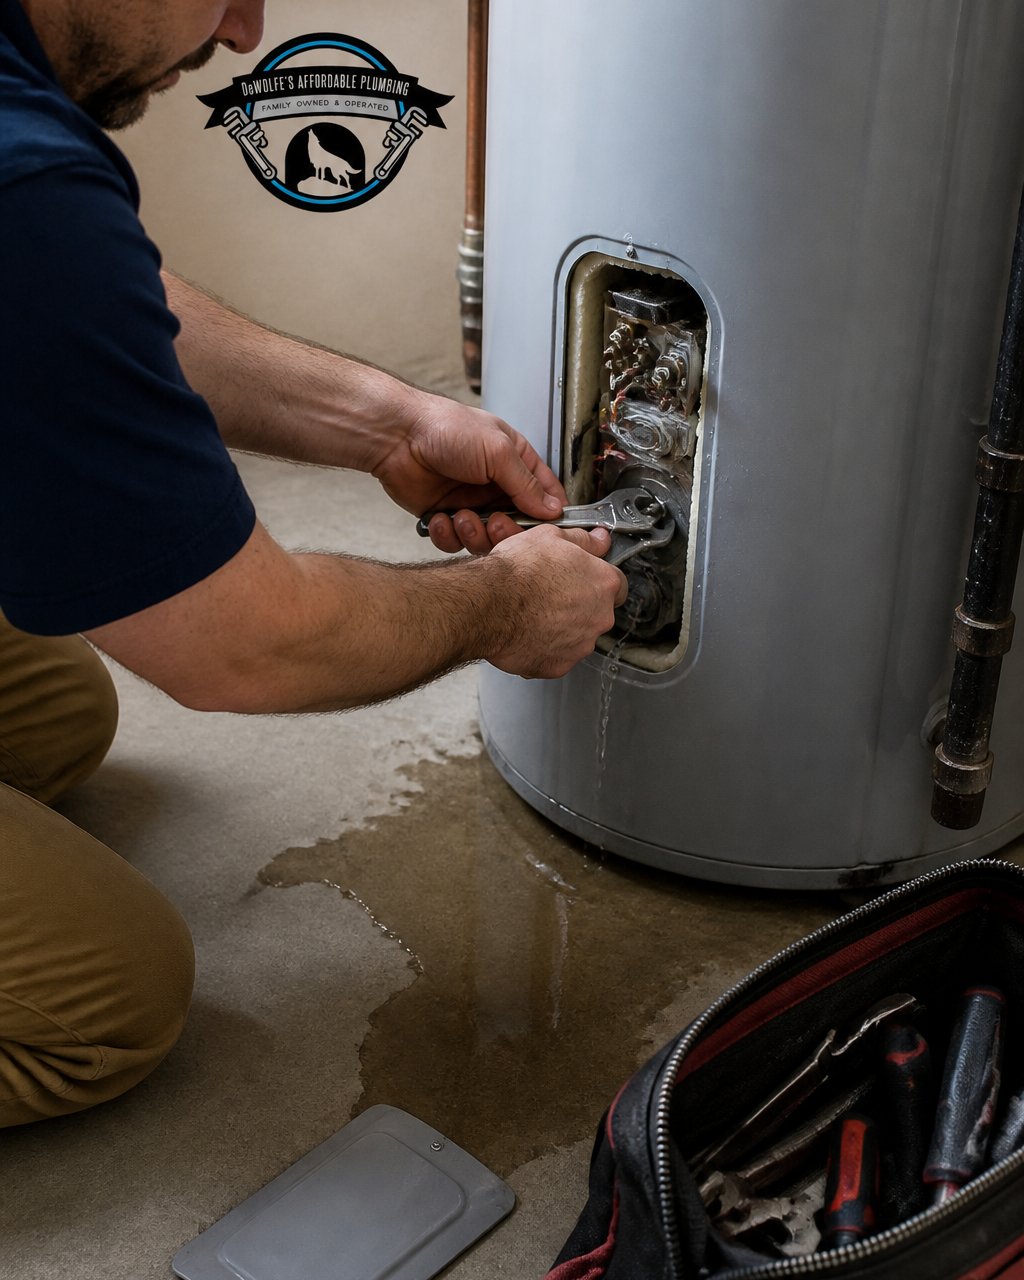
To check it, kill the power, remove the panel cover, and look for rust or moisture around the element. A wet gasket or corroded element means the seal has failed.
The fix is straightforward. Replace the gasket, and replace the element too if it shows corrosion or pitting. Tighten the element snugly, not hard. Over-tightening warps the gasket and causes the same leak again.
Do not crank the element down with a wrench and hope for the best. An over-tightened gasket deforms and leaks worse than before. Snug plus a quarter turn is the limit.
Fittings, Drain Valves, and the T&P Relief Valve
Loose fittings, a worn drain valve, and a failing T&P relief valve cause a large share of bottom leaks, and each one leaves a different signature. The trick is to read the signature before you touch a wrench.
Water connections and nipples. The inlet and outlet pipes thread into the tank through short fittings called nipples. A loose fitting usually drips steadily at the threads and leaves a chalky mineral crust or a green-white stain. Tighten it a half turn and recheck after 30 minutes. If the nipple itself is corroded or cracked, tightening will not hold, and the nipple needs replacing. A common pattern is a slow weep that only shows up when the tank is hot, because heat expands the metal and opens the gap.
Drain valve. A drain valve that weeps at the spout or the stem is common on older tanks. Sometimes a quarter turn seats it and the drip stops. If it keeps dripping after reseating, swap the valve. A brass replacement valve with a cap is more durable than the plastic valve many units ship with. Do not overtighten the new valve into the tank; thread sealant plus snug is enough.
Temperature and pressure relief valve. The T&P valve opens when pressure or temperature runs too high, and a drip here can mean three different things: high incoming water pressure, a failed valve seat, or a closed system with no expansion tank. Test your home’s water pressure with a gauge at a hose bib. Many practitioners consider anything above roughly 80 psi high enough to warrant a pressure regulator.
| Leak Location | Likely Cause | How to Confirm | Fix | DIY or Pro |
|---|---|---|---|---|
| Element panel | Gasket or element seal | Moisture or rust inside panel | Replace gasket and element | DIY-friendly |
| Top pipes | Loose fitting or nipple | Drip at threads, mineral crust | Tighten or replace | DIY-friendly |
| Drain valve | Worn valve or stem | Weep at spout or stem | Reseat or replace valve | DIY-friendly |
| T&P valve | High pressure or bad valve | Gauge reading above ~80 psi, or drip with normal pressure | Test pressure, replace valve | Pro recommended |
| Tank seam | Corrosion or crack | Rust streaks, water at seam | Replace tank | Pro required |
Wrap a dry paper towel around each fitting and the T&P discharge pipe, then check back in 15 minutes. The first towel that gets wet tells you which part is the source, even when the drip is too slow to see.
Water Heater Repair or Replacement: How to Decide
Repair or replacement comes down to four questions: how old is the tank, where is the leak, what will the repair cost relative to a new unit, and is the unit still under warranty.
Use this decision framework:
- Tank leak or seam corrosion: replace. No repair holds, and patching a failed tank is a temporary fix at best.
- Unit under 10 years old with a gasket, fitting, or valve leak: repair. These are the leaks that respond well to parts replacement.
- Unit over 10 years old with any leak: weigh repair against replacement, because a second failure is likely soon and the labor cost of a second repair often approaches the price of a new unit.
- Repeated element or gasket failures: replace. Something else, such as high pressure or sediment buildup, is causing them, and the underlying cause needs to be fixed either way.
- Warranty still active: check the tank warranty before you authorize a repair. Many tank warranties cover the tank itself for a set number of years, and a covered tank failure changes the math significantly.
On cost, the honest answer is that it depends on parts, labor, location, and tank condition. Rather than quote a number that will not match your situation, ask for an itemized estimate that separates parts from labor and states whether the work is covered by warranty.
A leaking tank is never repairable. A leaking gasket, fitting, or valve almost always is. Age, leak location, and warranty status decide the call, not the size of the puddle.
Emergency Response and Damage Prevention
Fast action limits water damage and mold risk. The moment you spot a leak, do these four things.
- Cut the power at the breaker.
- Shut off the cold-water supply to the tank.
- Move anything stored nearby off the floor.
- Soak up standing water and run a fan to dry the area.
Then call a licensed plumber. Water damage behind walls and under flooring gets expensive fast, and mold can start within a day or two in a damp space. If the leak is near drywall or flooring, document the damage with photos for your insurance.
Mold cleanup and moisture guidance from the U.S. Environmental Protection Agency
Our team offers 24/7 emergency service and same-day or 24-hour response, so you are not waiting around all day. We are family owned, fully licensed and insured under Master License #M39597, and every job carries a full written warranty on labor.
Conclusion
A leak at the bottom of an electric water heater is stressful, but it is rarely a mystery once you know where to look. Shut off the power, find the first wet spot, and let the location tell you whether it is a gasket, a fitting, a valve, or the tank itself. If the diagnosis points to a repair, or you would rather not crawl around a hot water heater on your own, we can help. DeWolfe’s Affordable Plumbing provides on-site estimates, transparent up-front pricing, and a full written warranty on all labor. Call (972) 632-9935 to get started and get your hot water back.
Frequently Asked Questions
Why is my hot water heater slowly leaking from the bottom?
A slow leak from the bottom of an electric water heater usually comes from the lower heating element gasket, a loose fitting, the drain valve, or the temperature and pressure relief valve. Less often, it means the tank itself has corroded and cracked. Because water runs down, the true source can be higher up. Shut off power and water, then dry the area and watch where moisture returns before assuming the worst.
How can I tell whether water is coming from the tank or an element panel?
Dry the bottom of the heater and the floor, then watch for the first sign of moisture. Water seeping from the element panel points to a failed gasket or element seal. Water appearing along the tank seam or underneath the insulation usually means tank failure. If water tracks down from the top fittings, the tank may be fine. A clear diagnostic sequence saves you from replacing a repairable unit.
Is it safe to use an electric water heater that is leaking from the bottom?
No. Water and electricity are a dangerous combination. Shut off power at the circuit breaker and close the cold water inlet valve before touching anything. A leaking electric water heater can trip breakers, corrode wiring, and create a shock hazard. Once power and water are off, call a licensed plumber to trace the leak source and recommend a repair or replacement.
Can a leaking water heater be repaired, or does it need replacement?
Many leaks are repairable. A bad element gasket, loose fitting, drain valve, or relief valve can often be fixed. Tank corrosion or a cracked tank cannot. Age matters too: a unit near the end of its service life is usually better replaced than repaired. A licensed plumber can confirm the leak source and give you a straight repair-or-replace recommendation with up-front pricing.
What should I do first if I find water around my water heater?
Shut off the power at the circuit breaker and close the cold water inlet valve. Then contain the water with towels or a wet/dry vacuum and move anything nearby that could be damaged. Do not stand in water while touching the heater or its wiring. Once the area is safe, call a licensed plumber to trace the leak and advise on repair or replacement.