

Steps to Winterize Outdoor Plumbing Faucets Before Freezing
Last Updated: November 10, 2026
Quick Summary
The steps to winterize outdoor plumbing faucets start with disconnecting all hoses and attachments. If your faucet has an indoor shut-off valve, close it, open the outdoor faucet fully to drain it, and leave the faucet open through the winter so water can expand safely.
- Disconnect every garden hose and attachment before you start, since trapped water can back up into the faucet.
- Close the indoor shut-off valve, then open the outdoor faucet fully so the remaining water drains out.
- Leave the outdoor faucet open all winter so any leftover water can expand without splitting the pipe.
- A faucet cover alone does not stop freezing if water is still sitting in the line behind it.
- Never leave a faucet open with the indoor valve still on, or water will run continuously and flood the area.
Table of Contents
- Why Outdoor Faucets Freeze and Burst
- Gather Your Tools and Check Your Faucet Type
- How to Winterize Outdoor Faucet With Shut Off Valve
- How to Winterize Outdoor Faucet Without Shut Off Valve
- Using a Winterize Faucet Cover for Extra Protection
- Should I Leave Outdoor Faucets Open in Winter?
- Booking a Professional Winterization Check With DeWolfe’s Affordable Plumbing
- Frequently Asked Questions
Why Outdoor Faucets Freeze and Burst
Outdoor faucets freeze when water inside the pipe turns to ice and expands. That pressure can split the pipe, often in a place you can’t see until the spring thaw. Steps to winterize outdoor plumbing faucets before freezing are the simplest way to avoid that damage. A faucet that looked fine in November can leak badly once it warms up.
The risk starts when temperatures stay below freezing for several hours. Water left in the hose bib, the valve body, and the pipe running back into the wall has nowhere to go. Once it freezes, it pushes outward.
Watch out: a faucet cover alone does not stop freezing if water is still sitting in the line behind it.
Gather Your Tools and Check Your Faucet Type
Before you start, gather a few basic items: a bucket, an adjustable wrench, a rag, and a hose-bib cover if you plan to use one. Disconnect every garden hose and attachment first, since trapped water in a hose can back up into the faucet.
Next, check your faucet type. A frost-free (anti-freeze) faucet has a long stem that shuts off water deep inside the wall, away from the cold. A standard faucet shuts off right at the handle, so the water behind it stays exposed. Standard faucets need more care because all the water in the line has to be drained. If you find corrosion, drips, or a stem that won’t seal, a Faucet Repair or Replacement service can handle the fix before the cold arrives.
Also inspect the faucet for leaks, drips, or corrosion. Fix small problems now so they don’t turn into a burst in January.
How to Winterize Outdoor Faucet With Shut Off Valve
If your faucet has its own shut-off valve inside the home, this is the easiest method. If you find a line that has already frozen, see how to safely thaw frozen pipes without bursting. Follow these steps:
- Disconnect all hoses and attachments from the outdoor faucet.
- Go inside and close the indoor shut-off valve for that faucet.
- Open the outdoor faucet fully so the remaining water can drain out.
- Open the drain cap on the indoor valve, if it has one, and catch the water in your bucket.
- Leave the outdoor faucet open through the winter so any leftover water can expand without splitting the pipe.
Once the valve is closed and the line is empty, the faucet is protected from the inside.
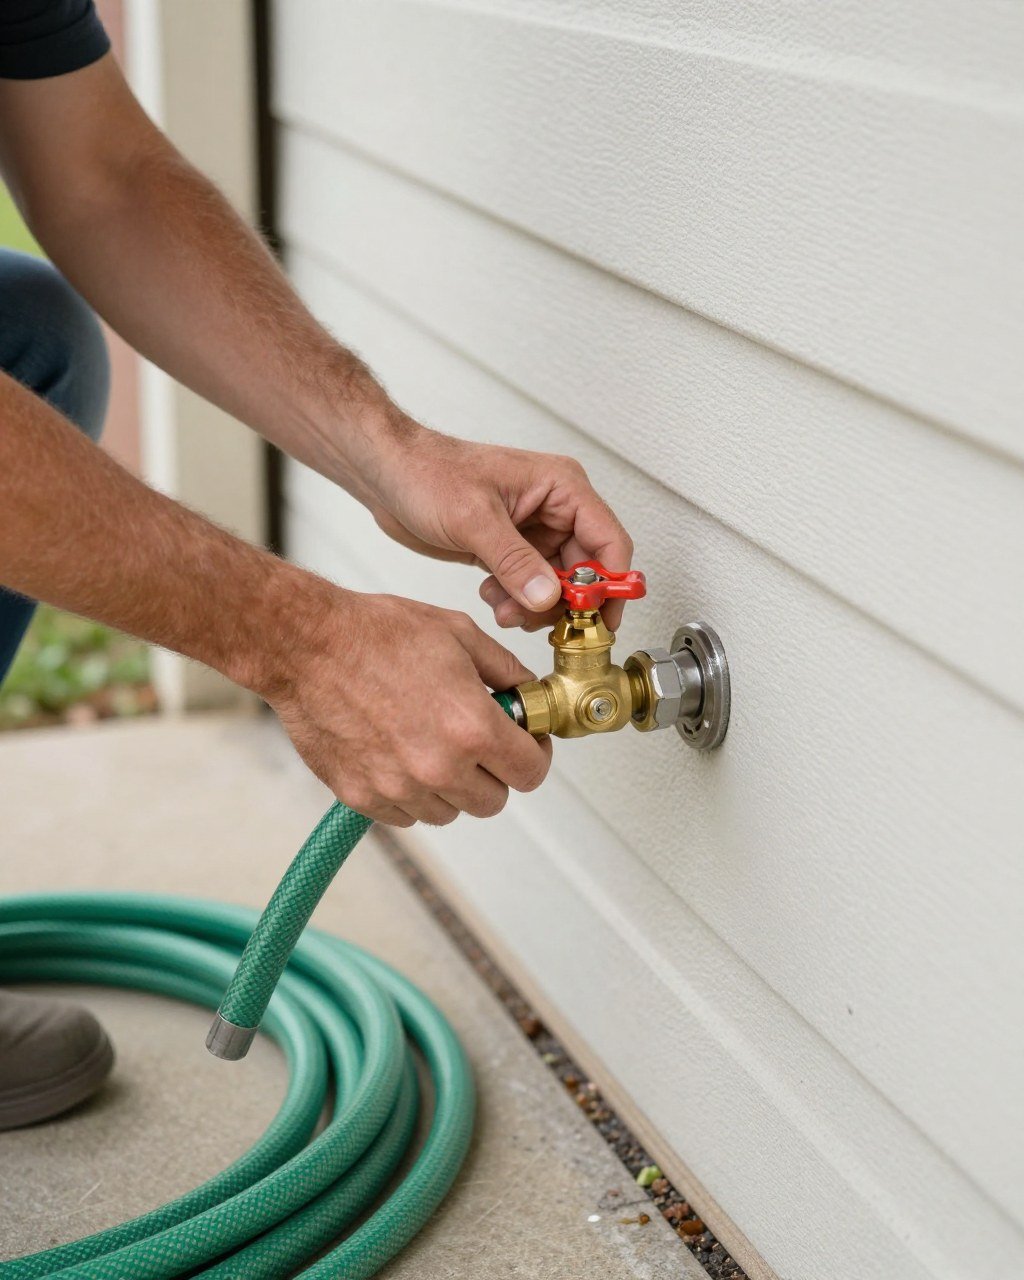
!A homeowner’s hands turning a brass shut-off valve on a garage wall while a garden hose lies coiled nearby on a sunny afternoon
Locating and Troubleshooting the Indoor Shut-Off Valve
The shut-off valve is usually on the wall of the room behind the outdoor faucet, such as a basement, garage, or crawl space. Look for a pipe that runs through the wall toward the outside.
If the valve is stuck, don’t force it hard. A stuck valve can break. Try a few gentle turns back and forth. If the valve still won’t move, call a plumber.
If water keeps dripping after the valve is closed, the drain cap may be clogged or the valve may be worn. Check the drain port first. A worn valve that doesn’t fully seal needs replacement, not more force.
A reader who can’t find or operate the valve may want to learn how to quickly shut off the main water supply while they sort out the faucet.
The steps for a faucet with its own indoor shut-off valve come down to a few actions, summarised below.
| Step | What to do | Note |
|---|---|---|
| 1. Disconnect | Remove all hoses and attachments | Trapped hose water can back up into the faucet |
| 2. Close valve | Shut the indoor shut-off valve | Valve is usually on the wall behind the faucet |
| 3. Open faucet | Open the outdoor faucet fully | Lets remaining water drain out |
| 4. Drain cap | Open the drain cap on the indoor valve | Catch water in a bucket |
| 5. Leave open | Keep the outdoor faucet open all winter | Lets leftover water expand safely |
How to Winterize Outdoor Faucet Without Shut Off Valve
Some older homes have no indoor valve for outdoor faucets. In that case, the water has to come out of the faucet and the pipe itself, and the method depends on whether the faucet is frost-free or standard.
Standard faucet with no dedicated shut-off
A standard faucet shuts off at the handle, so the entire pipe run back to the main line stays full of water. Draining it means emptying that run:
- Disconnect all hoses and attachments.
- Shut off the main water supply to the house.
- Open the outdoor faucet fully and let it drain.
- Open a faucet at the highest point in the home (an upstairs sink works) to let air into the system so water can flow out.
- Open a low-point drain if the home has one, often at the water heater, a utility sink, or a hose bibb at the lowest level.
- Leave the outdoor faucet open through the winter so any residual water can expand without splitting the pipe.
This method takes longer because you are emptying the whole water line, and the house is without water while you work. Plan for that.
Frost-free faucet with no dedicated shut-off
A frost-free faucet has a long stem that shuts off deep inside the wall, so the valve seat is already protected from outdoor cold. The failure point is the short section of pipe between the valve seat and the main line, and that section only freezes if water is trapped there. With the faucet fully open and the main shut off, that section drains back through the open faucet. The critical step is leaving the faucet open all winter, not just cracking it.
Watch out: a frost-free faucet can still freeze if a hose stays attached. The hose traps water in the stem, and the stem splits inside the wall where you can’t see it until spring.
Verification checklist
Before you call it done, confirm:
- The outdoor faucet is fully open and no water is flowing.
- The main supply (or the dedicated valve, if one exists) is closed.
- Any low-point drain is open and has stopped dripping.
- No hose or attachment is connected to the faucet.
- A faucet cover is fitted if you’re using one, and only after the line is drained.
When to call a plumber instead
Call a licensed plumber if the main shut-off won’t close fully, if a valve is corroded or weeping at the packing nut, if the faucet continues to flow after the main is off, or if you can’t locate a low-point drain. Forcing a stuck main valve can cause a flood inside the wall, and a valve that won’t seal means the line never actually drains, which defeats the whole process. For a broken line, a Waterline Repair or Replacement job may be needed rather than a simple drain.
Using a Winterize Faucet Cover for Extra Protection
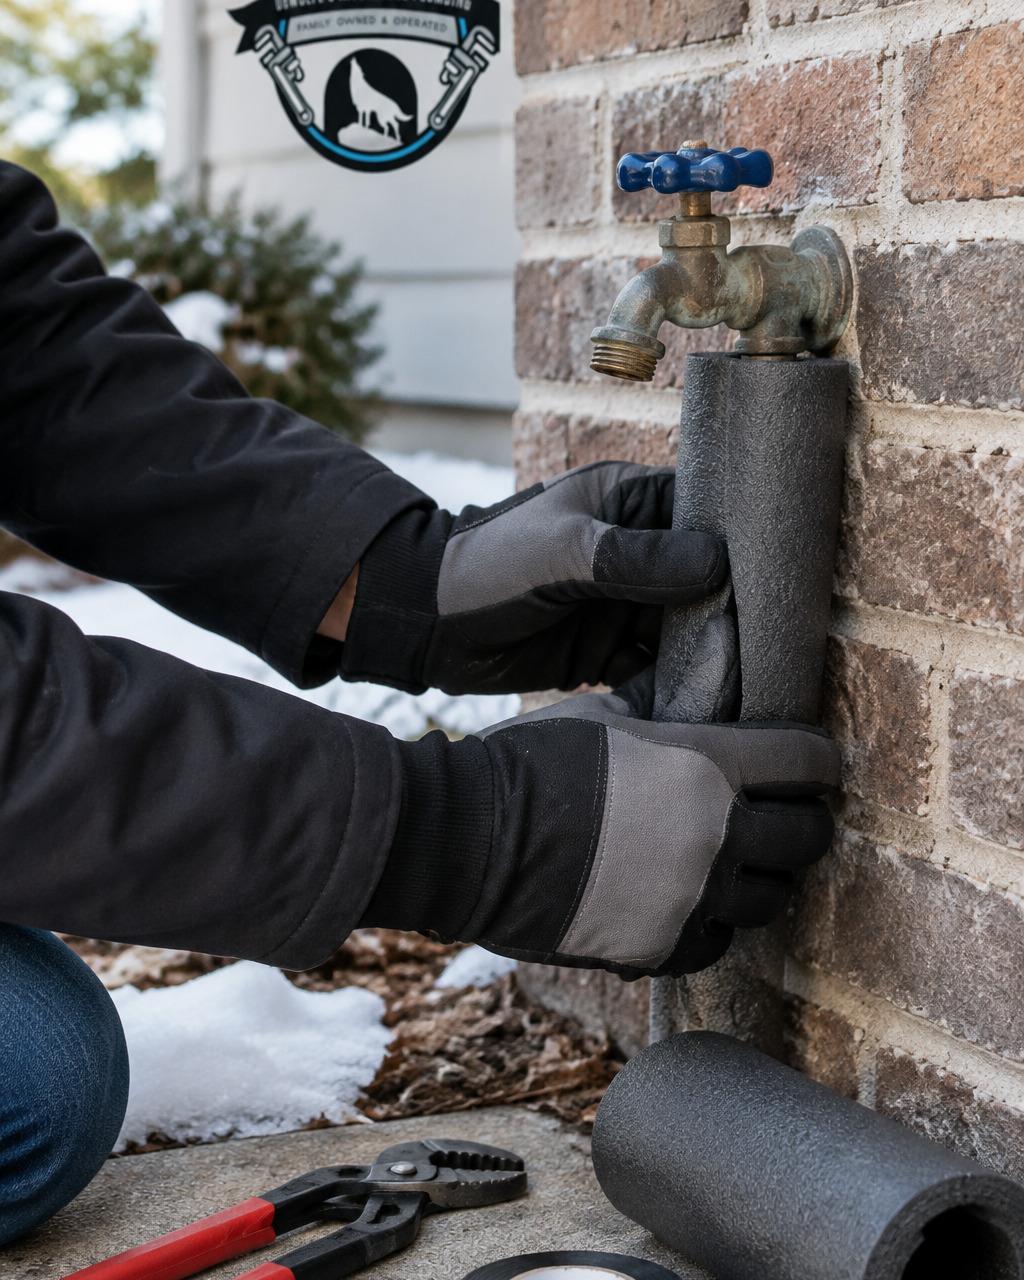
A foam or insulated faucet cover adds a layer of protection on top of draining. It helps keep cold air away from the faucet body, especially on standard faucets that can’t be shut off in the wall.
Choose a cover sized for your faucet and fit it snugly over the spout and handle. Covers work best after the line is already drained. Using a cover on a faucet that still holds water gives you little extra benefit.
A reader who finds a leaking hose bibb while checking faucets may want to know whether they can repair it themselves.
Should I Leave Outdoor Faucets Open in Winter?
Yes, leaving an outdoor faucet open during freezing weather is a common and effective step. Open faucets let water expand and drain out instead of building pressure in the pipe.
Some homeowners worry about the faucet staying open all winter. In most cases, that is fine as long as the indoor valve is closed. If you have no indoor valve, the faucet must stay open so the line remains empty.
Watch out: never leave a faucet open with the indoor valve still on, or water will run continuously and flood the area.
Booking a Professional Winterization Check With DeWolfe’s Affordable Plumbing
If you aren’t sure whether your outdoor plumbing is ready for winter, a professional check can give you peace of mind. Our licensed team can help with a winterization check before freezing weather arrives.
DeWolfe’s Affordable Plumbing is a family-owned and operated business serving residents of Wylie and the surrounding area. We offer on-site estimates for residential customers, a full written warranty on all labor performed, and transparent, up-front pricing. Our Master License number is M39597, and we are fully licensed and insured.
Call (972) 632-9935 to schedule a winterization check. If you have a commercial property, we can also look at outdoor lines across the site.
Winterizing outdoor faucets takes less than an hour, and it can save you from a costly burst pipe. Start with the disconnect step, find your shut-off valve, and check your faucet type. For help with any step, call DeWolfe’s Affordable Plumbing at (972) 632-9935.
Frequently Asked Questions
Do outside faucets need to be winterized?
Yes, outdoor faucets and the pipes feeding them should be prepared before the first hard freeze, Water left inside an outdoor line expands as it freezes, which can split the pipe or the faucet body. Disconnect hoses, shut off the indoor supply valve where one exists, drain the line, and cover the faucet. Doing this work in the fall costs far less than repairing water damage or a burst pipe in January.
How do I winterize my outdoor spigot faucet?
Start by disconnecting and storing any garden hose, then inspect the faucet for leaks or damage. Shut off the indoor valve that supplies the outdoor line, open the outdoor faucet to release pressure, and then open the drain cap or bleeder on the shut-off valve so trapped water can run out into a bucket. Leave the outdoor faucet open so any remaining water can drain and expand safely. Finish by fitting an insulated faucet cover.
Will wrapping a towel around an outdoor faucet keep it from freezing?
A towel alone offers little protection because it soaks up moisture and can freeze solid, which holds cold against the metal. An insulated foam or fabric faucet cover made for outdoor use works better, and it stays in place without trapping water. Covers do not replace draining the line, since water still inside the pipe can freeze even when the faucet itself is covered.
Should I leave outdoor faucets open in winter?
Leaving an outdoor faucet open lets water drain out of the exposed portion of the line, which reduces the chance of a split when temperatures drop. This is especially important on standard faucets, where the valve sits outside the heated wall. Many homeowners keep the handle open after draining as a final check. If you have a frost-free faucet, the valve body extends into the warm interior, so follow the manufacturer’s guidance on the handle position.
