

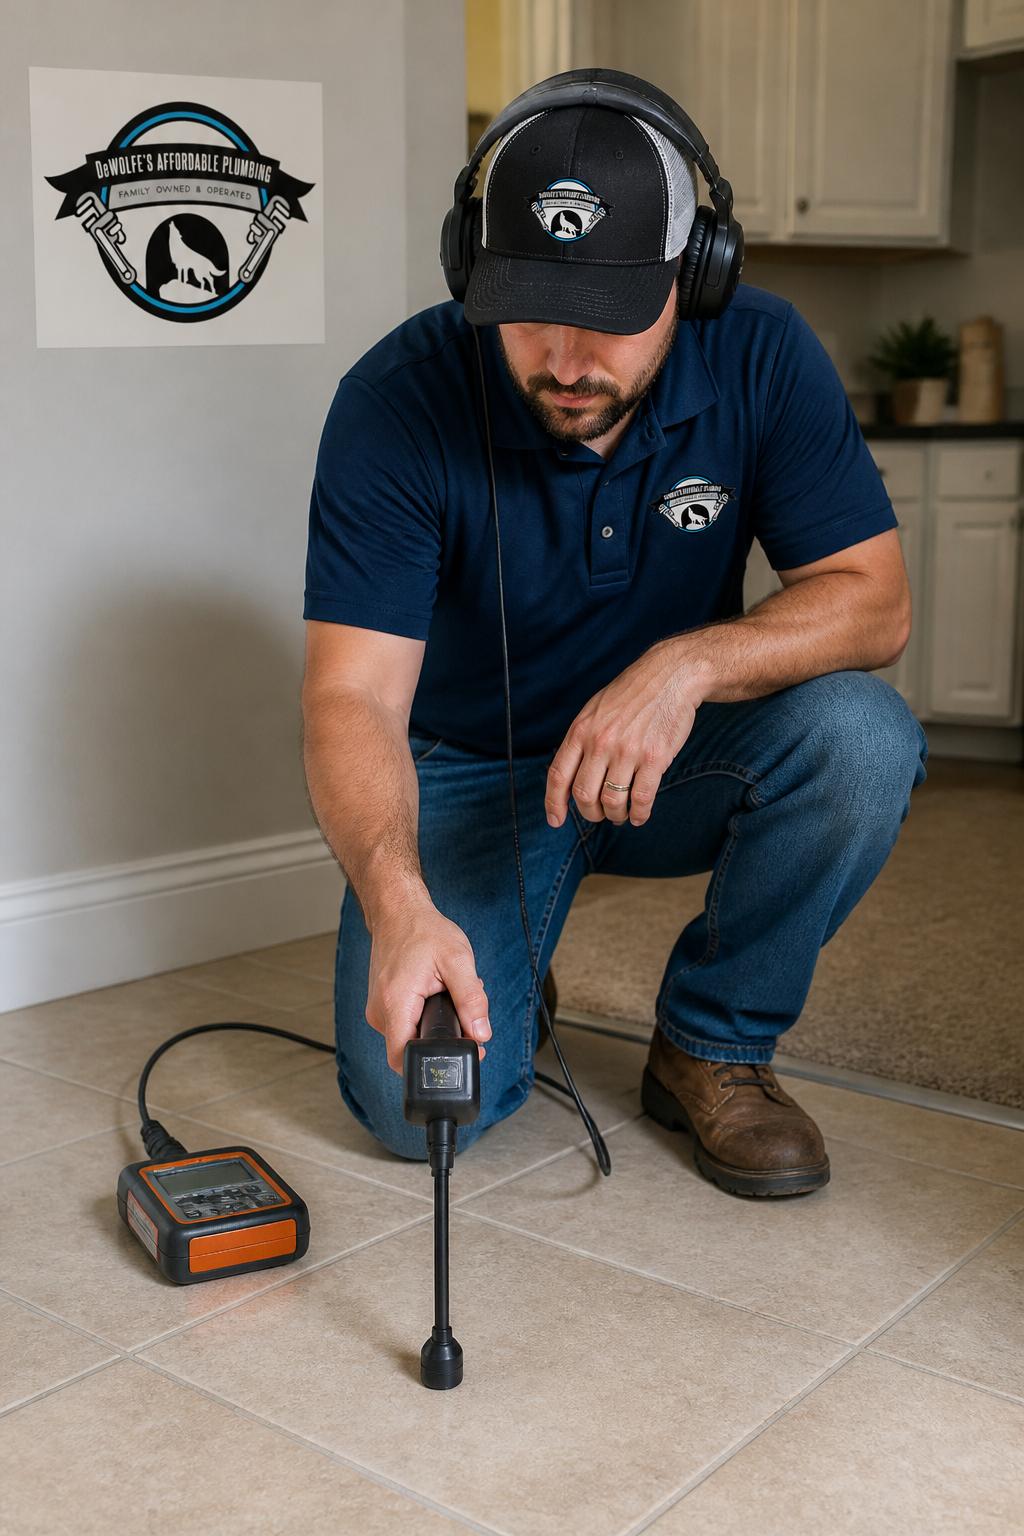
How to Detect Slab Leaks: A Step-by-Step Guide
Table of Contents
- Signs of a Slab Leak You Can Spot Yourself
- The Water Meter Test for Leaks
- Step 1: Shut down every water-using device
- Step 2: Find your meter and identify the type
- Step 3: Record the baseline reading
- Step 4: Wait with all water off
- Step 5: Re-read the meter and interpret the result
- Step 6: Isolate the house from irrigation and outdoor lines
- Step 7: Confirm the leak is under pressure, not a drain
- What to record for later use
- Slab Leak Detection Methods: DIY vs. Professional
- Professional Detection Tools and Techniques
- What to Do If You Suspect a Slab Leak
- Preventative Maintenance to Avoid Future Slab Leaks
- Frequently Asked Questions
Last Updated: October 8, 2026
Signs of a Slab Leak You Can Spot Yourself
A slab leak occurs when water pipes beneath your home’s concrete foundation crack or develop holes, letting water escape into the soil. Learning how to detect slab leaks early can prevent serious structural damage and mold growth.
Audible indicators
Listen for hissing, whistling, or running water when all appliances are off. These noises come from beneath floors or walls where water escapes under pressure.
Visual evidence on flooring and foundation
Warm spots on your floor are a classic sign. If one area of tile, carpet, or wood is noticeably warmer than its surroundings, hot water is likely leaking beneath the surface.
Look for:
- Cracks appearing in concrete slab or flooring
- Soft or spongy spots in carpet or flooring
- Discoloration or staining on floors
Foundation cracks often follow slab leaks, since water pressure from underground pipes can shift concrete and widen existing fractures.
Unexpected changes in your water bill
An unexplained spike in your monthly bill is one of the most reliable indicators of a hidden leak. If usage jumped 20% or more without changes in household habits, investigate.
The Water Meter Test for Leaks
The water meter test is the most reliable way for a homeowner to confirm water is moving when nothing is running. It needs no special tools, takes 30 to 60 minutes, and produces a photographable result for a plumber or insurance adjuster.
Run this test twice: once on a normal weekday and once on a weekend. A leak that only appears during irrigation hours or after heavy use points to a different cause than a constant slab leak.
Step 1: Shut down every water-using device
Stop all water consumption, including:
- Washing machines, dishwashers, and refrigerator ice makers or water dispensers
- Showers, sinks, and toilets (confirm no toilet is silently refilling)
- Outdoor sprinkler systems and hose bibs
A dripping faucet or leaking toilet flapper will register on the meter and invalidate the test. To check a toilet, add food coloring to the tank, wait 10 minutes without flushing, and look for color in the bowl.
Step 2: Find your meter and identify the type
Most residential meters sit in a box near the curb, though some older homes have one indoors. Open the lid and look at the register.
There are two common register types:
- Straight-reading register: displays numbers like an odometer. Record every digit, including any decimals.
- Dial or sweep-hand register: has a large dial with a small triangle or diamond-shaped indicator (often called the leak detector or flow indicator). On these meters, the sweep hand and the small indicator should be completely still when no water is moving.
If your meter has a low-flow indicator, that triangle is the most sensitive leak signal on the device.
Step 3: Record the baseline reading
Write down the exact register number, including decimals, and photograph the meter face so the reading and serial number are visible. Note the date and time.
Step 4: Wait with all water off
Leave every fixture, appliance, and irrigation zone off for at least 30 minutes. If anyone needs water during the window, restart the test.
For a slow leak, wait 60 to 120 minutes, or overnight, so small flows are easier to see.
Step 5: Re-read the meter and interpret the result
Record the new reading and time, then compare:
- Register unchanged, indicator still: no water is moving. Your supply lines are holding. If you still have symptoms like warm spots or a rising bill, the cause is more likely a drain leak, irrigation, or a fixture, and a plumber should investigate those separately.
- Register advanced slightly, indicator moving: water is flowing somewhere in the system. This confirms a supply-side leak. It does not by itself prove the leak is under the slab, but combined with warm floor spots, the sound of running water with everything off, or foundation moisture, a slab leak becomes the leading suspect.
- Register advanced significantly: a larger leak is present. Shut off the main valve and call a plumber promptly.
Step 6: Isolate the house from irrigation and outdoor lines
If you have a separate irrigation shutoff, close it and repeat the test. If the meter stops with irrigation off, the leak is outdoors, not in the slab. Many false alarms trace to a broken sprinkler valve or leaking hose bib.
Step 7: Confirm the leak is under pressure, not a drain
The water meter test detects leaks on pressurized supply lines; a drain line leak under the slab won’t move the meter. If the test is clean but you still see moisture, warm spots, or a musty smell, ask a plumber for a drain-line or smoke test.
Do not use the water meter test as your only evidence before authorizing excavation. A confirmed meter movement tells you a leak exists somewhere on the supply side. Professional acoustic and thermal tools are what narrow that down to a specific spot under the slab.
What to record for later use
Keep a log with the date, start and end times, starting and ending readings, and a photo of the meter at each step. If you file an insurance claim, this log proves the leak was ongoing before any repair work began.
Slab Leak Detection Methods: DIY vs. Professional
Once you detect slab leaks through the water meter test, how far can you reasonably go on your own? DIY tools confirm a problem exists and narrow a general area, but they cannot pinpoint a pipe under concrete.
What consumer-grade tools can and cannot do
Moisture meters. Inexpensive pin-type and pinless meters confirm that a floor, baseboard, or wall cavity is wetter than a dry reference area. Their limits:
- They measure moisture in the material they touch, not the location of a pipe. A high reading tells you water has reached that spot, which may be several feet from the actual leak.
- Readings drift with material type, temperature, and surface coatings. A reading on tile, carpet, and concrete is not directly comparable.
- They cannot distinguish a slab leak from a slow drain leak, condensation, or groundwater wicking up through the slab.
Use a moisture meter to map the wet zone, not to locate the pipe.
Smartphone thermal attachments and entry-level infrared cameras. These detect surface temperature differences and are helpful for hot water line leaks, which create a warm streak above the pipe. Their limits:
- Cold water leaks produce little or no temperature contrast, so thermal imaging often misses them entirely.
- Floor coverings, rugs, and furniture block the signal.
- Sun exposure, HVAC registers, and ductwork create false warm and cool spots that look like leaks.
Listening by ear. Pressing a glass or screwdriver handle to the floor may reveal a faint hiss, but human hearing cannot localize the sound like a professional acoustic device.
What professional equipment adds
A licensed plumber arrives with tools that measure the leak directly rather than its side effects:
- Acoustic listening devices and ground microphones amplify and triangulate the sound of pressurized water escaping, often locating a leak within a foot or two on a concrete slab.
- Tracer gas or helium leak detection introduces a safe gas into an isolated line and uses a detector at the surface to find where it escapes, which is effective on lines that are hard to hear.
- Electronic amplification and correlation compares signals from two sensors to calculate the leak position along a pipe run.
These methods are non-invasive and typically avoid exploratory demolition, producing a marked location a repair crew can open directly.
Documenting your findings for an insurance claim
This is the step most homeowners skip, yet it often determines whether a claim is approved. Before any repair begins, build a file showing the leak existed, when it started, and what it damaged.
Collect and organize:
- Photos and video of warm spots, cracks, staining, mold, and any moisture you can see, each with a date stamp if possible
- Your water meter log from the test above, including the photos of the register at the start and end of each test
- Water bills from the last 12 months, so the usage spike is visible against your normal baseline
Call your insurer before repairs start. Ask two specific questions: does the policy cover access and repair of the leaking pipe, and does it cover the resulting damage to flooring, cabinets, or the foundation? Many policies treat those as separate coverages, and the answer changes how you sequence the work.
When to stop and call a professional
Call a licensed plumber if any of the following is true:
- The water meter test shows movement with all fixtures and irrigation off
- You have warm floor spots, a hissing sound, or visible foundation moisture
- The leak appears to be affecting the slab, load-bearing walls, or multiple rooms
A professional inspection converts symptoms into a located leak, a damage assessment, and a documented report you can act on. Slab Leak Location and Repair services are designed to pinpoint the exact source of underground leaks and provide repair solutions that protect your foundation.
Professional Detection Tools and Techniques
Licensed plumbers use three primary methods to locate slab leaks with precision.
Acoustic listening devices
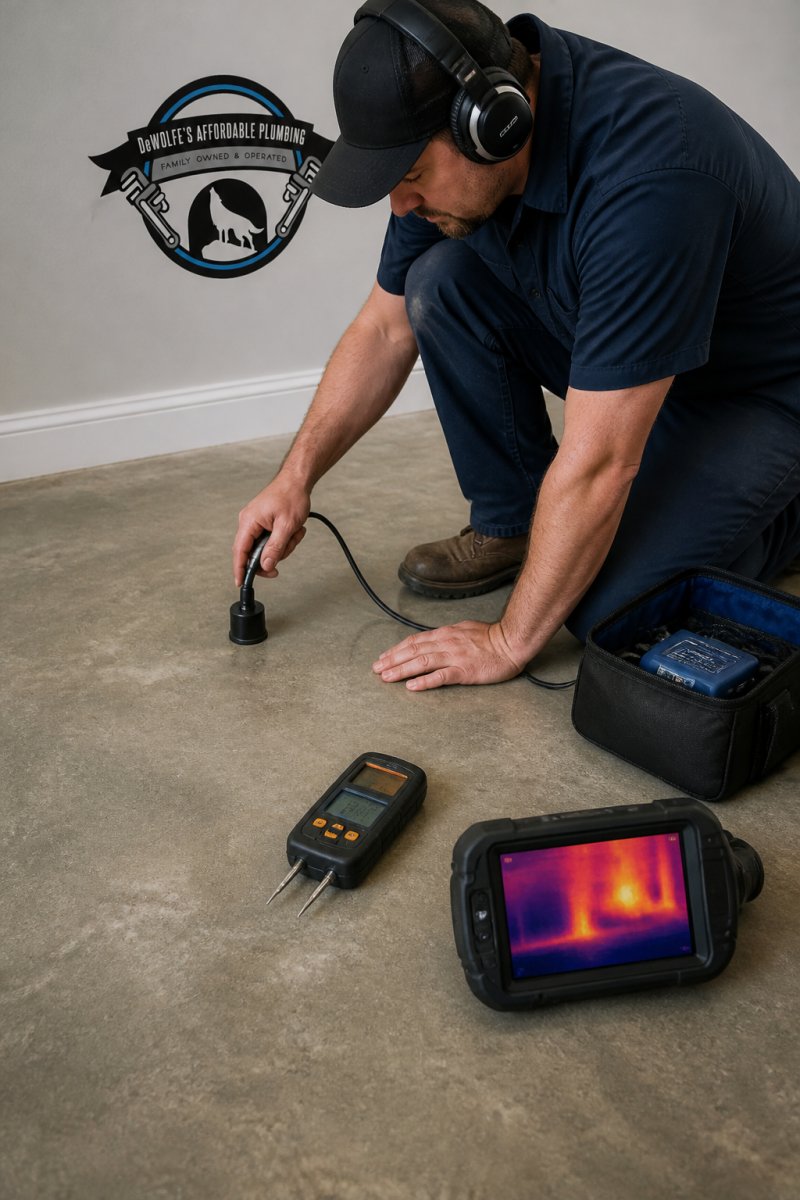
An acoustic listening device amplifies the sound of water escaping under pressure.
This method works best on concrete slabs and identifies leaks within a few feet of the surface. The plumber moves the device systematically across the suspected area, narrowing the location.
Thermal imaging and infrared cameras
Infrared cameras detect temperature differences invisible to the eye. Leaking hot water lines create warm spots that stand out on the thermal image; cold water leaks show as cooler zones.
The technician scans floors and foundation for anomalies. This method is especially effective for hot water line leaks and works through flooring materials, leaving no damage.
Moisture meters and pressure testing
A moisture meter measures water content in concrete, drywall, and wood; high readings show where water has accumulated, confirming leak locations and damage extent.
Static pressure testing (hydrostatic testing) pressurizes the water line. The plumber isolates pipe sections and applies controlled pressure; a drop indicates a leak in that section, pinpointing the damaged segment.
What to Do If You Suspect a Slab Leak
Finding evidence of a slab leak triggers a specific sequence of actions that protects your home and your wallet.
Document the evidence
Photograph and record everything: warm spots, visible cracks, moisture or discoloration, mold growth, and foundation damage. Write down when you first noticed signs, record your water meter readings and dates, and keep water bills showing the usage spike. This documentation is critical for insurance claims.
Get a professional inspection
Contact a licensed plumber immediately. Our team provides on-site estimates for residential customers. We use professional detection equipment to confirm the leak’s location and severity.
A professional inspection gives you:
- Exact leak location
- Damage assessment
- Repair options and timelines
Preserve records for insurance claims
Insurance often covers slab leak repairs if the damage resulted from a pipe defect rather than poor maintenance, so documentation is essential for approval.
Contact your homeowner’s insurance before repairs begin and ask whether your policy covers slab leaks. Some policies cover the leak repair but not foundation damage, so understanding your coverage prevents surprise expenses.
Preventative Maintenance to Avoid Future Slab Leaks
Prevention is far cheaper than repair. Simple maintenance habits extend your plumbing system’s life and reduce leak risk.
Monitor your water pressure regularly; high pressure stresses pipes and accelerates wear.
Protect your pipes from corrosion:
- Avoid pouring harsh chemicals down drains
- Keep water heater temperature at 120°F or lower
- Flush your water heater annually to remove sediment
Check your foundation annually for new cracks or moisture, walking the perimeter seasonally and noting any changes.
Frequently Asked Questions
What are the most common signs of a slab leak?
The most obvious signs of a slab leak include unexplained increases in your water bill, hissing or running water sounds coming from under the floor, damp or warm spots on your concrete flooring, cracks in the foundation or flooring, and mold or mildew growth in carpeted areas. If your water meter shows usage when all fixtures are off, you likely have a leak in your plumbing system, potentially under your concrete slab.
Can I detect a slab leak using just my water meter?
Yes, a water meter test is one of the most reliable DIY methods to detect a slab leak. Turn off all water-using appliances, note your meter reading, wait two hours without using any water, then check the meter again. If it has moved, water is escaping somewhere in your plumbing system. However, this test only confirms a leak exists, it doesn’t pinpoint its location under your foundation.
How do professional plumbers locate a leak under a slab?
Professionals use specialized equipment to pinpoint slab leaks. Acoustic listening devices detect the sound of water escaping from pressurized pipes beneath the concrete. Thermal imaging cameras identify temperature variations where water is leaking. Moisture meters measure dampness in concrete, and hydrostatic pressure testing isolates which section of your water supply lines is compromised. These methods allow technicians to locate the exact spot without breaking up your entire foundation.
Should I get a professional inspection if I suspect a slab leak?
Yes, professional inspection is strongly recommended. Unrepaired slab leaks cause structural damage, mold growth, and water waste that compounds over time. A licensed plumber can confirm whether you have a slab leak, identify its location, and recommend repair options. Early detection prevents costly foundation damage and helps document the issue for insurance claims if needed.