

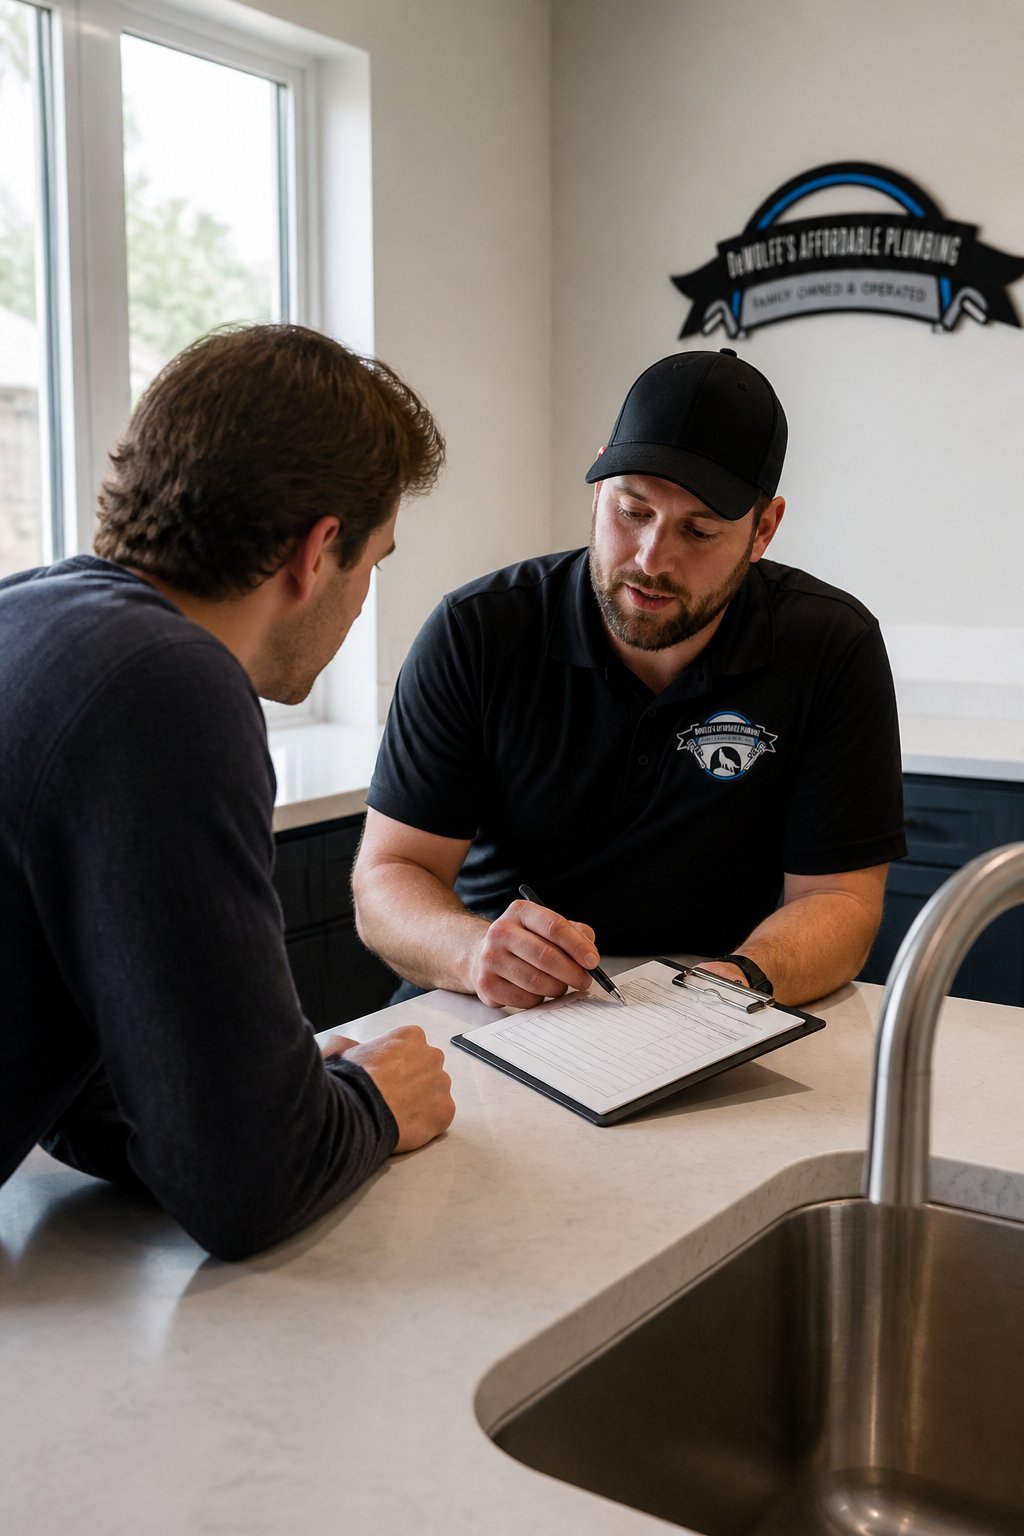
What Happens During a Plumbing Site Estimate
Table of Contents
- What Happens During a Plumbing Site Estimate: A Step-by-Step Walkthrough
- Step 1: The Homeowner’s Walkthrough With the Plumber
- Step 2: The Plumbing Takeoff and Project Scope
- Step 3: How Material Costs and Labor Rates Shape Your Plumbing Estimate
- The Average Time for a Plumbing Inspection and What Speeds It Up
- Plumbing Estimate vs Quote: What Each Document Actually Commits To
- Questions to Ask a Plumber Before Hiring
- How to Prepare for a Plumber Visit
- Frequently Asked Questions
Last Updated: October 7, 2026
What Happens During a Plumbing Site Estimate: A Step-by-Step Walkthrough
A plumbing site estimate is a written summary of the work, materials, and time a job will take, built from an in-person look at your pipes and fixtures.
Most guides treat the site visit as a sales call. It isn’t, it’s a diagnostic step, and the estimate is only as good as what the plumber can see and measure in your home.
Below, we’ll walk through each step of the visit, what the plumber checks, and how to read the final document.
U.S. Environmental Protection Agency guide to household water use
Why an On-Site Estimate Beats a Phone Guess
A phone quote is a starting point, not a commitment. Without seeing the layout, pipe material, or shutoff condition, any phone number is a rough range at best.
Three things change the price once a plumber is standing in your home:
- Pipe material. Copper, PEX, and galvanized steel all install differently.
- Access. A fixture behind drywall or under a slab takes longer to reach.
- Existing condition. Old valves and fittings often fail during the repair itself.
A written on-site estimate accounts for all three. A phone guess does not.
Ask the plumber to note the pipe material and shutoff valve condition on the estimate. If those aren’t listed, the price can shift once work starts, and you’ll have no paper trail to point to.
Step 1: The Homeowner’s Walkthrough With the Plumber
The walkthrough is the first real step. You lead the plumber to each problem area, describe what you’ve noticed, and answer questions about when the issue started and how often it happens.
Expect questions about water pressure, recent backups, and past repairs. Point out every fixture that concerns you, even minor drips, small symptoms often share a root cause.
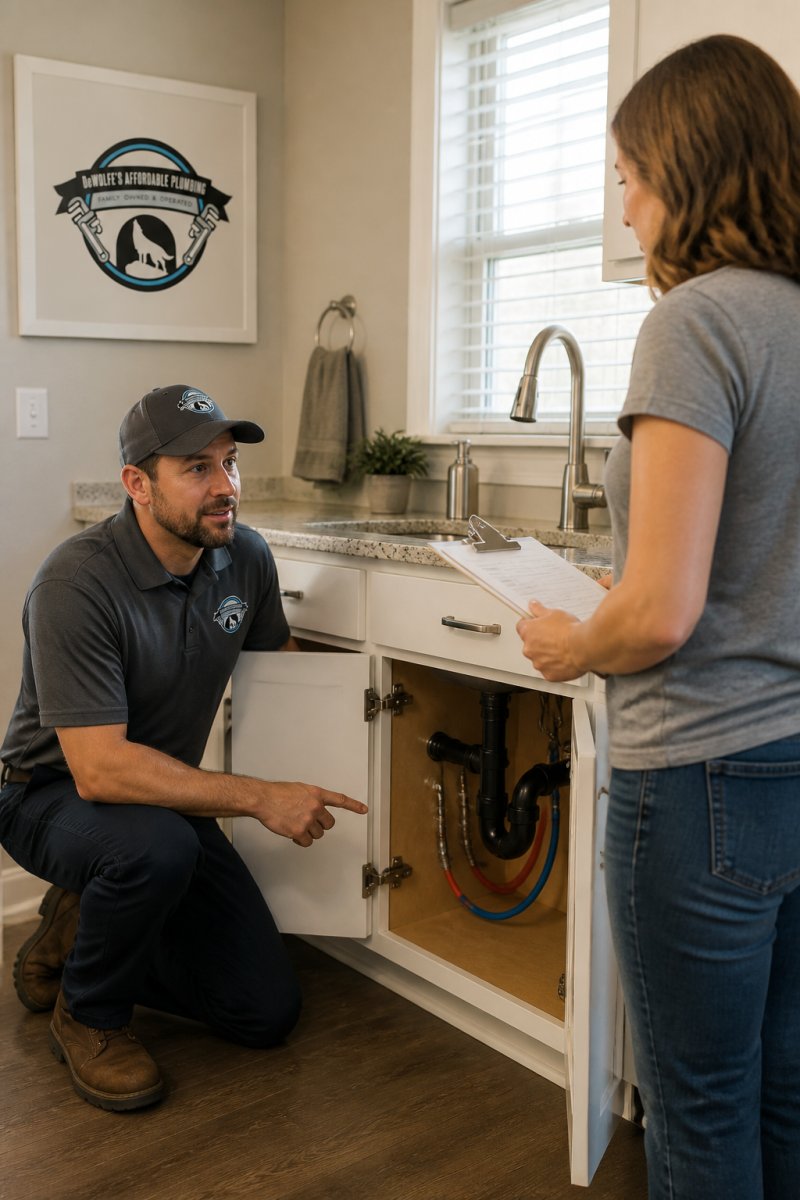
What the Plumber Is Looking For at Each Fixture
At each stop, the plumber checks the same short list:
- Water pressure at the tap
- Signs of corrosion or mineral buildup on fittings
- The condition of the shutoff valve
These checks take a few minutes per fixture and reveal whether a repair is simple or part of a larger issue.
Step 2: The Plumbing Takeoff and Project Scope
The plumbing takeoff is the count of every part the job needs, measured against your home’s actual layout.
Here is what actually happens during a takeoff:
- Pipe runs are measured. The plumber measures the linear feet of pipe from the supply source to each fixture, plus the drain path to the main stack. A kitchen sink relocation might involve 40 feet of PEX or 25 feet of copper, and the two materials price differently.
- Fittings are counted individually. Every elbow, tee, coupling, reducer, and transition fitting is tallied. A single reroute can easily require 15 to 30 fittings, and each one adds both material cost and a solder or crimp joint that can leak later.
- Fixtures and valves are listed by model. A standard chrome shutoff valve and a quarter-turn ball valve are not the same part. The takeoff should name what is being installed, not just “new valve.”
- Waste factor is added. Most plumbers add a percentage to material counts to cover cuts, breakage, and leftover pipe. A common range is 5 to 10 percent, and it should appear in the estimate rather than be hidden in the total.
Some plumbers build the takeoff in estimating software that pulls current material pricing; others use a clipboard and tape measure.
A clear scope states:
- What will be repaired or replaced
- Which materials and model numbers will be used
- What is excluded from the job
- Who is responsible for patching, painting, and cleanup
Exclusions matter as much as inclusions. If a wall must be opened to reach a pipe, or drywall repair, permit pulling, disposal, or restoration isn’t included, the estimate should say so.
Ask the plumber to walk you through the takeoff line by line. If they can name the pipe material, the fitting count, and the labor hours, the estimate is built on real measurements. If they can’t, the number is a placeholder.
Once the takeoff is complete, the plumber can price the job with real numbers, and you have a document you can compare against other bids.
Step 3: How Material Costs and Labor Rates Shape Your Plumbing Estimate
Material costs and labor rates are the two biggest pieces of any plumbing estimate. Materials cover the pipes, fittings, fixtures, and sealants; labor rates reflect the time and skill to install them.
A few factors move both numbers:
- Job complexity. A straight pipe swap is faster than a reroute around a foundation.
- Access and site conditions. Tight crawl spaces and slab work add labor hours.
- Permit fees. Some jobs require a permit, and that cost appears as a line item.
- Overhead and markup. These cover insurance, equipment, and business costs.
Each should be broken out, not bundled into one vague total, a line-by-line breakdown is the sign of an honest estimate.
U.S. Department of Energy guidance on home water heating
The Average Time for a Plumbing Inspection and What Speeds It Up
The average time for a plumbing inspection is 30 to 60 minutes for a standard home; larger homes, slab leaks, or multiple problem areas can push it to 90 minutes or more.
You can shorten the visit before the plumber arrives:
- Clear access to the water heater, main shutoff, and under-sink cabinets
- Write down symptoms and when they started
- Note any past repairs or recent work by other providers
- Keep pets secured in a separate room
A prepared homeowner saves the plumber time, which often shows up as a more accurate estimate.
Don’t skip the walkthrough thinking you can describe the problem over the phone later. The plumber can’t price what they can’t see, and a rushed phone estimate often gets revised upward once the real work begins.
Plumbing Estimate vs Quote: What Each Document Actually Commits To
A plumbing estimate is a good-faith projection of cost; a quote is a fixed price the plumber agrees to honor. The difference matters when the job turns out bigger than expected.
| Document | What It Commits To | When to Expect It |
|---|---|---|
| Estimate | A projected range based on visible conditions | After the site visit |
| Quote | A fixed price for a defined scope of work | After scope is confirmed |
| Change order | A written update when scope changes mid-job | During the work |
If you’re handed an estimate, ask whether the final bill can exceed it and by how much. A written warranty and clear change-order process protect you either way.
Red Flags to Watch For in a Written Estimate
Most homeowners have never read a plumbing estimate, so a vague document can look normal. Here’s what should make you slow down:
- One lump-sum price with no line items. If the estimate says “repair plumbing, $X” and nothing else, you cannot tell what you are paying for or compare it to another bid.
- No permit line. If the job touches gas lines, water heater replacement, or major drain work, a permit is usually required. An estimate that never mentions permits may mean the plumber plans to skip them, which can create problems at resale or inspection.
- No material specifications. “New faucet” is not a specification. A model number or at least a brand and finish should appear.
- Missing exclusions. A trustworthy estimate says what is not included. Silence on drywall repair, disposal, or restoration usually means those costs land on you later.
How to Negotiate or Clarify an Estimate Without Cutting Corners
Negotiating a plumbing estimate isn’t about haggling the plumber down, it’s about making sure the scope matches what you actually need. A few approaches work well:
- Ask for a phased option. If the full repair is out of budget right now, ask whether the work can be split into a must-do-now phase and a phase you schedule later. Plumbers often prefer this to losing the job entirely.
- Ask what changes the price. If the estimate is a range, ask which specific findings would push it to the high end. That tells you what to watch for during the work.
- Compare scope, not just totals. Two estimates with the same total can cover very different work. Put them side by side and check the material specs, exclusions, and warranty terms.
- Request a fixed quote for a defined scope. Once you agree on exactly what will be done, ask the plumber to convert the estimate into a fixed quote. That shifts the risk of unexpected findings to a clearly defined change-order process.
Do not choose a plumber solely on the lowest number. A bid that is far below the others usually means something is missing from the scope, a permit, a material upgrade, or a warranty, and that gap tends to surface once the work begins.
DeWolfe’s Affordable Plumbing backs all labor with a full written warranty, so the terms are on paper before work starts.
Questions to Ask a Plumber Before Hiring
Ask these before you sign anything. The answers tell you whether the plumber is licensed, insured, and clear about what the job includes.
- Are you licensed and insured? Ask for the license number.
- Is this an estimate or a fixed quote?
- What is excluded from the scope?
- How will you handle unexpected findings?
A plumber who answers these without hesitation is one worth hiring. Vague answers are a red flag.
The single most important question is whether the document is an estimate or a quote. That one word decides who absorbs the cost if the job turns out larger than expected.
How to Prepare for a Plumber Visit
Preparing for a plumber visit takes about 15 minutes and makes the estimate more accurate: clear the path to the problem area and gather your records.
A short checklist:
- Clear cabinets under sinks and around the water heater
- Move boxes and furniture away from the work area
- Write down symptoms, dates, and frequency
- Find past repair receipts or warranty papers
With a clear path and good notes, the plumber can focus on diagnosis instead of moving boxes, and your estimate reflects the real job.
U.S. Consumer Product Safety Commission home safety resources
A plumbing site estimate only works when the plumber actually shows up, sees the problem, and puts the terms in writing. DeWolfe’s Affordable Plumbing offers on-site estimates for residential customers, transparent up-front pricing, and a full written warranty on all labor performed.
Frequently Asked Questions
Do plumbers usually charge for estimates?
It varies by company. Some plumbers charge a flat trip or diagnostic fee that covers the visit, while others offer free on-site estimates and roll the cost into the job if you hire them. Ask about the fee when you book, and confirm whether it is credited toward the repair. A written plumbing estimate should always be free to receive once the visit is complete.
How should I prepare my home for a plumbing site estimate?
Clear access to the water heater, main shut-off valve, and any cabinets under sinks the plumber needs to open. Move boxes, pet crates, and stored items out of the way. Write down when the problem started, what you have already tried, and any recent water bill spikes. If you have prior repair records or a home inspection report, have them ready. A clear path and a short history help the plumber finish the walkthrough faster.
What is the difference between a plumbing estimate and a quote?
An estimate is a good-faith projection based on what the plumber can see during the site visit. The final bill can shift if hidden damage appears once work starts. A quote is a fixed price the company commits to for a defined project scope. For straightforward jobs like a faucet replacement, ask for a quote. For anything behind walls or under a slab, expect an estimate with a stated contingency.
How long does a typical plumbing site estimate take?
Most residential visits run 30 to 60 minutes. A single-fixture issue can wrap up in 20 minutes, while a whole-home repipe or slab leak investigation can take 90 minutes or more because the plumber needs to trace lines and check multiple access points. The average time for a plumbing inspection also depends on how many questions you ask and how easily the plumber can reach the problem area.